
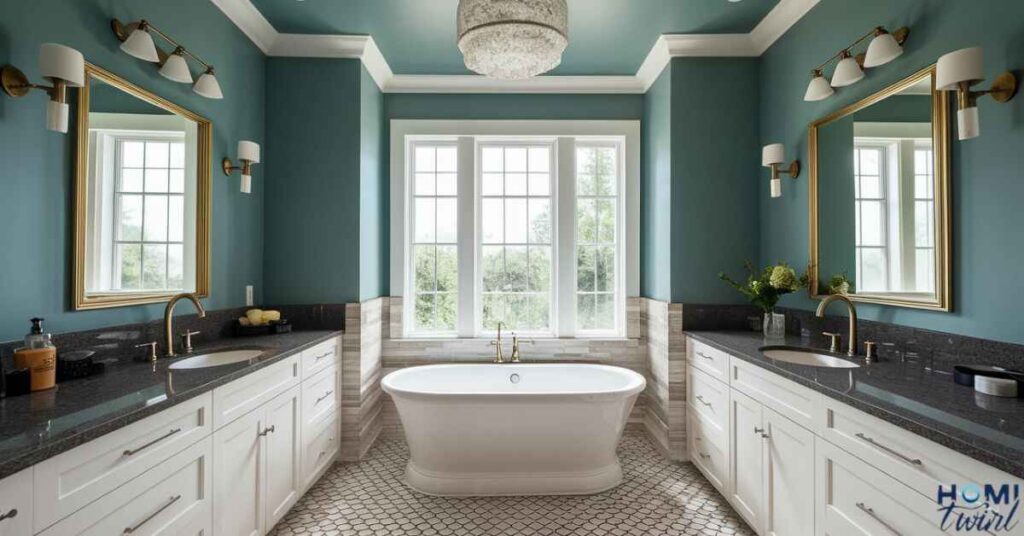
Selecting the right paint for your bathroom ceiling is crucial for both aesthetics and functionality.
Overlooking this detail can lead to issues like peeling, cracking, or mold growth, impacting not only the appearance but also the health and safety of occupants. With various paint options available, understanding the differences is essential.
Factors such as durability, resistance to moisture, ease of application, and health considerations should guide your choice. Let’s explore the types of paint suitable for bathroom ceilings and their distinct advantages.
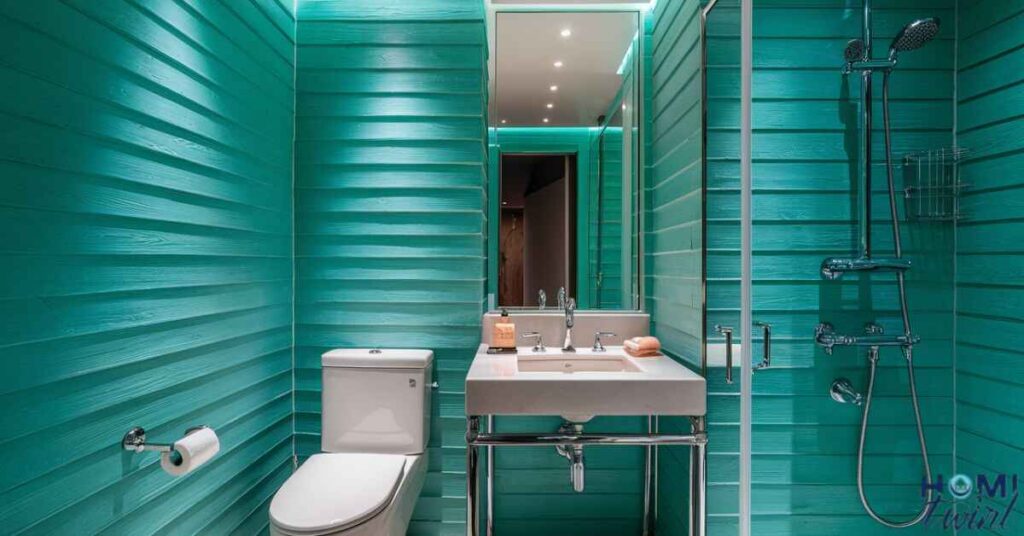
Why Bathroom Ceiling Paint Matters
Your bathroom ceiling paint plays a crucial role in both functionality and overall aesthetics. A poorly chosen paint can lead to a host of problems, including.
Read This Blog: WHY DOES MY BATHROOM SMELL LIKE SEWER
- Peeling or bubbling paint: Excess moisture can cause inferior paint to separate from the ceiling, creating an unsightly and potentially hazardous situation.
- Mold and mildew growth: Bathrooms are prone to high humidity levels, providing the perfect breeding ground for mold and mildew if the paint is not designed to resist them.
- Poor indoor air quality: Some paints release volatile organic compounds (VOCs), which can contribute to respiratory issues and other health concerns, especially in a confined space like a bathroom.
If you notice any of these signs, it’s time to repaint your bathroom ceiling with a high-quality, moisture-resistant paint designed specifically for this purpose.
Types of Paint and Their Suitability for Bathroom Ceilings
Not all paints are created equal when it comes to bathroom ceilings. Let’s explore the different types and their suitability for this unique environment.
Oil-Based Paints Pros:
- Durable and long-lasting
- Good moisture resistance
Cons:
- Release high levels of VOCs, leading to poor indoor air quality
- Require mineral spirits for cleanup, making them less eco-friendly
- Tend to yellow over time, necessitating more frequent repainting
- Longer drying times between coats
While oil-based paints can offer durability, their drawbacks make them a less desirable choice for bathroom ceilings compared to modern alternatives.
Latex Paints Advantages:
- Water-based formulation for easy cleanup with soap and water
- Improved moisture resistance compared to oil-based paints
- Lower VOC levels for better indoor air quality
- Faster drying times between coats
Latex paints have become a popular choice for bathroom ceilings due to their ease of use, moisture resistance, and low odor. However, not all latex paints are created equal when it comes to resisting mold and mildew growth.
Specialty Bathroom Paints
For optimal performance in the high-humidity environment of a bathroom, consider investing in specialty paints designed specifically for this purpose. These paints often feature.
- Mold and mildew-resistant properties: Special additives help prevent the growth of these unsightly and potentially harmful organisms.
- Quick-drying and low-odor formulas: Allowing you to use the bathroom sooner after painting and minimizing unpleasant fumes.
- Primer and paint combination: Reducing the number of coats required and streamlining the application process.
One of the most popular and highly recommended specialty bathroom paints is acrylic paint. Acrylic paints offer exceptional moisture resistance, mold and mildew protection, and often contain no VOCs, making them a healthier choice for indoor spaces.
What Paint Brand Do We Recommend?
When it comes to bathroom ceiling paints, one brand stands out above the rest: Benjamin Moore. Their specialized bathroom paint blend offers a comprehensive set of features that make it an excellent choice.
Also Read This Blog: DO YOU NEED A PERMIT TO REMODEL A BATHROOM
- High tolerance for hot, humid rooms: Ensuring long-lasting performance in steamy bathroom conditions.
- Resistance to moisture, mold, and mildew: Keeping your ceiling looking fresh and preventing the growth of harmful organisms.
- Thicker consistency for fewer coats: Saving you time and effort during the application process.
- Mixed paint and primer: Further reducing the number of steps required to complete the job.
- Washable and wipeable without color loss: Allowing for easy maintenance and touch-ups.
- No VOCs (volatile organic compounds): Promoting better indoor air quality and a safer environment.
- Beautiful color palettes: Offering a wide range of options to complement any bathroom design.
The combination of durability, ease of application, and beautiful finishes makes Benjamin Moore bathroom paint our top recommendation for achieving a long-lasting, visually appealing bathroom ceiling.
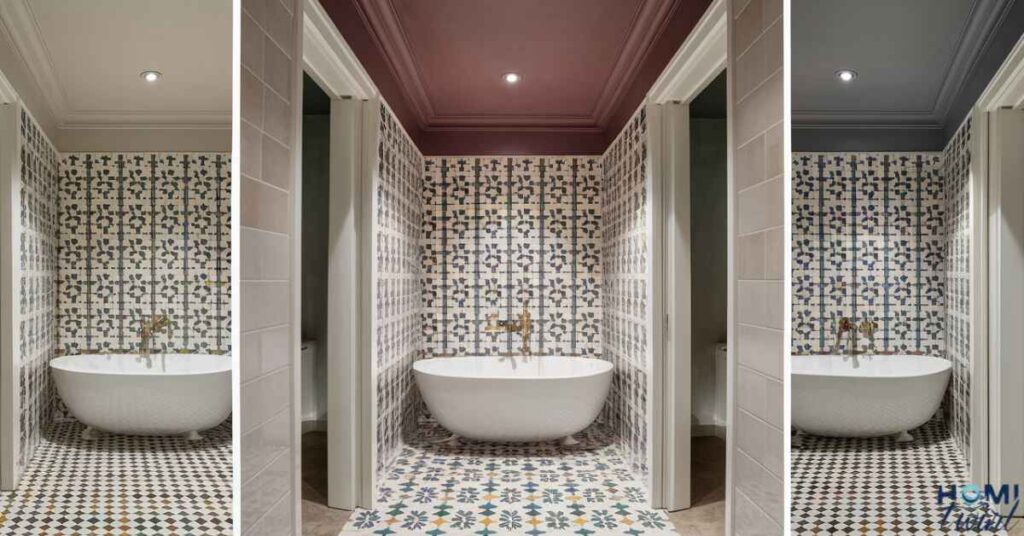
Should the Ceiling Match the Walls?
While it may not seem like a significant concern, the relationship between your bathroom ceiling and wall colors can have a significant impact on the overall aesthetic. Over time, noticeable differences in color or glossiness can become jarring and detract from the cohesive look you’re aiming for.
When selecting paint finishes, consider the following options.
- High-gloss: Provides a sleek, reflective surface that can amplify light in a small space.
- Semi-gloss: Offers a subtle sheen that is easier to clean than flat finishes.
- Satin: A versatile finish with a slight sheen, providing a balance between durability and a more muted appearance.
- Eggshell: A low-luster finish that can help hide imperfections while still being somewhat moisture-resistant.
- Matte: A flat, non-reflective finish that provides a sophisticated, velvety look.
In the past, higher-gloss paints were often recommended for bathroom ceilings due to their moisture resistance. However, advancements in paint technology have made it possible to find matte finishes that are equally adept at repelling water and preventing mold growth.
By carefully coordinating the colors and finishes of your ceiling and walls, you can create a cohesive, inviting, and comfortable atmosphere in your bathroom.
Trust Rea Pro Construction To Help You Choose the Right Bathroom Ceiling Paint

With years of professional painting experience, the team at Rea Pro Construction understands the intricacies of selecting the perfect bathroom ceiling paint. From surface preparation to application techniques, they have the expertise to ensure a flawless finish that withstands the test of time.
Need a quote for painting your bathroom ceiling or any other home improvement project? today, and let their knowledgeable professionals guide you through the process.
How to Get the Dirt Out of Beadboard Cabinets
Beadboard cabinets add a charming, vintage touch to any kitchen or bathroom. However, the grooves and crevices can quickly accumulate grime and dirt, making them challenging to clean. Here are some effective tips for getting the dirt out of beadboard cabinets.
- Vacuum Regularly: Start by using a vacuum cleaner with a crevice tool attachment to remove loose dirt, dust, and debris from the grooves and corners of the beadboard.
- Make a Cleaning Solution: Mix a few drops of mild dish soap with warm water in a spray bottle. Avoid using harsh cleaners, as they can strip the finish or cause discoloration.
- Scrub with a Soft-Bristle Brush: Dip a soft-bristle brush into the cleaning solution and gently scrub the beadboard cabinets, working in the direction of the grooves. A toothbrush can also be used for hard-to-reach areas.
- Rinse and Dry: After scrubbing, use a clean, damp cloth to wipe away any remaining soap residue. Dry the cabinets thoroughly with a clean, lint-free cloth or paper towels.
- Use a Degreaser for Stubborn Grime: If you encounter tough, greasy stains, try using a mild degreaser or a solution of equal parts white vinegar and warm water. Apply it to the affected area, let it sit for a few minutes, and then scrub with a soft-bristle brush.
- Protect with a Wax or Polish: Once the cabinets are clean and dry, consider applying a gentle furniture wax or polish to help protect the finish and make future cleaning easier.
Regular maintenance and gentle cleaning methods are key to keeping your beadboard cabinets looking their best for years to come.
How to Clean Grease From a Kitchen Ceiling
Grease and cooking fumes can quickly accumulate on kitchen ceilings, leaving unsightly stains and a stubborn film of grime. To effectively clean grease from a kitchen ceiling, follow these steps.
- Prepare the Area: Clear the kitchen of any furniture or appliances that may be in the way. Cover countertops and floors with old sheets or tarps to catch any drips or spills.
- Make a Degreasing Solution: Mix equal parts of warm water and white vinegar in a bucket or spray bottle. Alternatively, you can use a commercially available degreaser or a solution of warm water and a few drops of dish soap.
- Apply the Solution: For a bucket method, dip a clean sponge or rag into the degreasing solution and wring it out slightly. Stand on a sturdy ladder or step stool and wipe the solution onto the greasy areas of the ceiling, working in sections.
- Scrub and Rinse: Use a soft-bristle brush or a non-abrasive scrub pad to gently scrub the greasy areas. Rinse the ceiling with clean water, using a clean sponge or cloth, to remove any remaining solution and grease.
- Dry Thoroughly: Use clean, dry towels or a microfiber mop to soak up any excess moisture from the ceiling. Good ventilation or a fan can help speed up the drying process.
- Repeat as Needed: For stubborn grease stains, you may need to repeat the process, allowing the degreasing solution to sit for a few minutes before scrubbing.
Regular cleaning and maintenance can help prevent the buildup of grease on your kitchen ceiling, making future cleaning easier and less time-consuming.
How to Paint the Walls in a House Where People Have Smoked
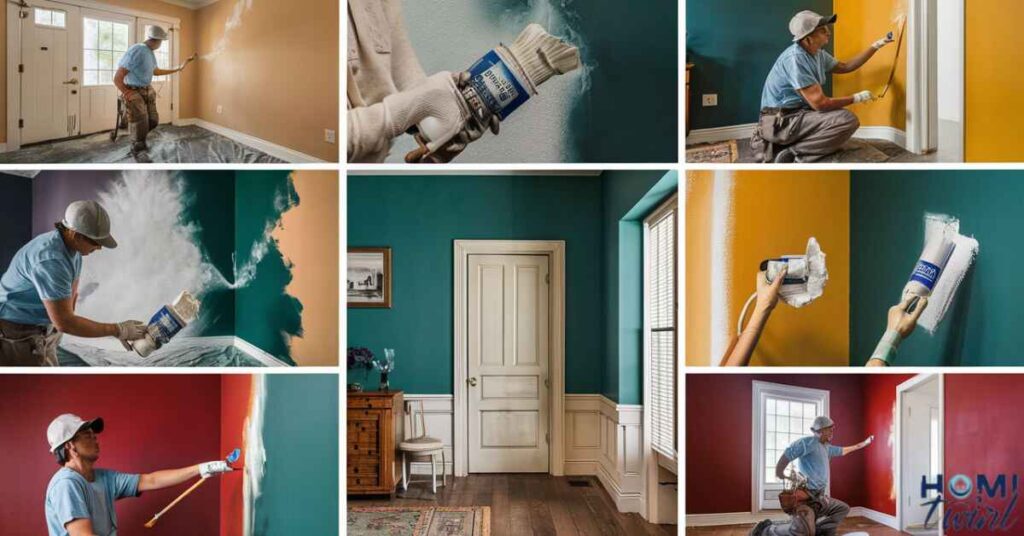
Painting walls in a house where people have smoked can be a challenging task, as the smoke can leave behind stubborn odors and discoloration. However, with the right preparation and techniques, you can effectively eliminate these problems and create a fresh, clean environment. Here’s a step-by-step guide.
- Prepare the Surfaces: Start by thoroughly cleaning the walls with a degreasing solution or a mixture of warm water and trisodium phosphate (TSP). This will help remove any nicotine residue and prepare the surfaces for painting.
- Repair and Patch: Inspect the walls for any cracks, holes, or imperfections, and repair them using spackling compound or joint compound. Sand the patched areas smooth once dry.
- Prime the Walls: Applying a high-quality, stain-blocking primer is crucial when painting over smoke-stained walls. Look for primers specifically designed to seal in odors and stains, such as KILZ Original or Zinsser BIN.
- Ventilate the Area: Proper ventilation is essential when painting in a space where people have smoked. Open windows and use fans to circulate fresh air and minimize exposure to any lingering odors or fumes.
- Choose the Right Paint: Select a high-quality, low-VOC (volatile organic compound) paint that is specifically formulated for interior use. Look for paints labeled as “low-odor” or “zero-VOC” to minimize any potential odors during and after the painting process.
- Apply Multiple Coats: Depending on the severity of the smoke stains and odors, you may need to apply two or more coats of paint to achieve complete coverage and effectively seal in any remaining odors.
- Consider Using Odor-Blocking Additives: For persistent smoke odors, you can add an odor-blocking additive to your paint or primer. These products contain specialized compounds that help neutralize and encapsulate odors.
- Maintain Proper Ventilation: Even after the painting is complete, it’s essential to maintain good ventilation in the space for several days to allow any lingering odors to dissipate fully.
By following these steps, you can effectively eliminate smoke stains and odors from the walls, creating a fresh and inviting environment in your newly painted space.
Frequently Asked Question
Can I use regular interior paint on my bathroom ceiling?
No, regular interior paint may not withstand the high humidity levels in bathrooms. It’s best to use a specialized bathroom paint or moisture-resistant paint.
How many coats of paint should I apply to my bathroom ceiling?
Most quality bathroom ceiling paints require 2-3 coats for optimal coverage and durability. Follow the manufacturer’s instructions for best results.
Do I need to prime the ceiling before painting?
Priming is recommended, especially if you’re painting over an existing dark color or stains. Look for a stain-blocking primer designed for bathrooms.
What’s the best finish for bathroom ceiling paint?
A flat or matte finish is often recommended for bathroom ceilings, as it helps hide imperfections and doesn’t highlight moisture and humidity.
Can I use the same paint for the bathroom walls and ceiling?
Yes, you can use the same moisture-resistant paint on both the walls and ceiling for a cohesive look, as long as you choose the desired sheen level.
How often should I repaint my bathroom ceiling?
High-quality bathroom ceiling paint can last 5-10 years with proper maintenance. Watch for signs of peeling, cracking, or mildew growth to determine when it’s time for a fresh coat.
Conclusion
Selecting the ideal paint for your bathroom ceiling is essential for creating a beautiful, long-lasting, and healthy environment. By understanding the different types of paints and their suitability for high-moisture areas, you can make an informed decision that meets your specific needs.
Remember, investing in a high-quality, moisture-resistant paint like Benjamin Moore’s bathroom line can save you time, effort, and money in the long run by preventing issues like peeling, mold growth, and frequent repainting. With the right preparation, application techniques, and maintenance, your bathroom ceiling will remain fresh and inviting for years to come. Don’t hesitate to seek professional assistance if you need guidance in achieving the perfect finish for your bathroom sanctuary.