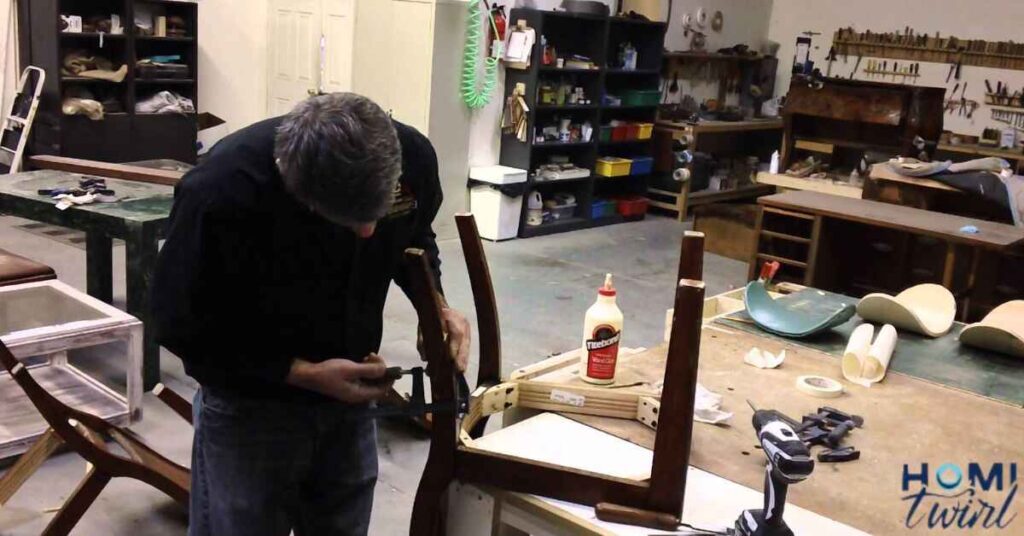
Repairing dining room chairs is about fixing them when they’re broken or wobbly. Sometimes chairs break when people lean back on them.
First, you need a comfortable place to work and gather all the parts of the chair. Start by removing old glue and screws carefully. Then, sand the surfaces to make them smooth. Use slightly bigger screws for a stronger hold. Fit the pieces together to check they fit snugly before gluing.
Apply wood glue to the surfaces, join them, and clamp them tightly. Let it dry for at least 24 hours. These steps help make your chairs sturdy and safe again.
Breathing New Life into Your Broken Dining Room Chairs
We’ve all been there – leaning back after a hearty meal, only to hear that dreaded crack as your chair gives way. It’s a common plight, but fear not! DIY chair fixing isn’t just possible; it’s a rewarding home improvement project that can save you money and preserve cherished pieces of furniture.
Read This Blog: HOW TO CLEAN FABRIC CHAIRS
In this guide, we’ll cover everything from assessing damage to applying the finishing touches. So roll up your sleeves, and let’s dive into the world of furniture maintenance and restoration.
Assessing the Damage: What’s Wrong with Your Chair?
Before you start your chair repair journey, it’s crucial to understand what you’re dealing with. Common issues include.
- Loose joints
- Broken legs or spindles
- Torn upholstery
- Wobbly legs
Take a close look at your chair and identify all areas that need attention. This will help you gather the right tools and materials for the job.
Tools and Materials You’ll Need
For most dining room chair repairs, you’ll want to have these items on hand.
- Wood glue
- Sandpaper (various grits)
- Screwdriver set
- Replacement screws
- Clamps
- Rubber mallet
- Clean rags
- Safety glasses
- Dust mask
Remember, safety first! Always wear protective gear when working with wood and tools.
Step 1: Clearing the Slate – Removing Old Glue
The first step in any furniture repair project is to clean up the remnants of previous fixes. Old glue can prevent new adhesive from bonding properly, so it’s got to go!
Techniques for Glue Removal
- Scraping: Use a flathead screwdriver or putty knife to carefully chip away dried glue.
- Sanding: For stubborn spots, break out the sandpaper. Start with a coarse grit and work your way to finer grits for a smooth finish.
- Heat: A hairdryer can soften some types of glue, making them easier to remove.
Pro Tip: Be gentle when removing old glue to avoid damaging the wood underneath.
Step 2: Unscrewing the Past – Removing Old Screws
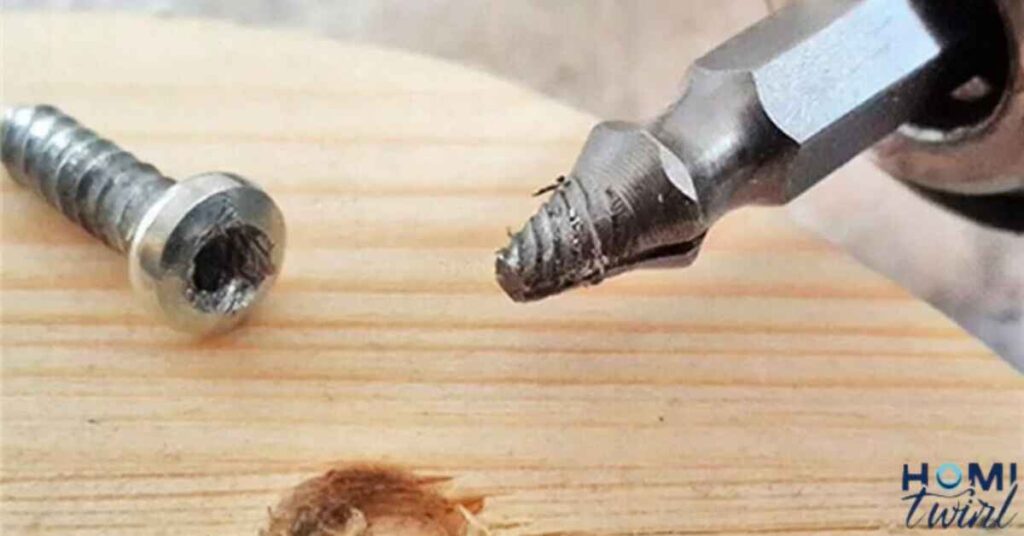
Next up in our chair restoration process is dealing with any existing screws. Often, these will need to be replaced to ensure a sturdy repair.
Identifying Screw Types
Dining room chairs typically use wood screws, which come in various head types.
- Phillips head (cross-shaped)
- Flathead (single slot)
- Square drive
Make sure you have the right screwdriver for the job. If a screw is stripped, you might need to use a screw extractor tool.
Also Read This Blog: LANDSCAPING TIPS FOR A PICTURE-PERFECT HOME
Step 3: Smooth Operator – Sanding and Preparing Surfaces
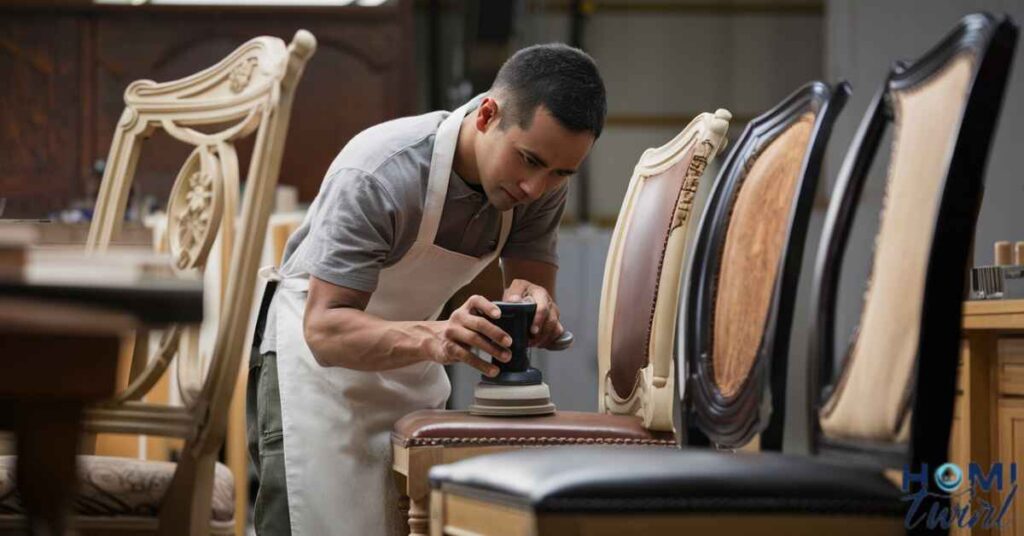
Now that we’ve cleared away the old, it’s time to prepare for the new. Sanding furniture is crucial for creating a surface that will bond well with glue and look great when finished.
Choosing the Right Sandpaper
| Grit | Use |
| 60-80 | Removing old finish or paint |
| 100-150 | Smoothing bare wood |
| 220+ | Final smoothing before finishing |
Start with a lower grit and work your way up to achieve a silky-smooth surface.
Techniques for Effective Sanding
- Sand in the direction of the wood grain to avoid scratches
- Use a sanding block for flat surfaces to ensure evenness
- Pay extra attention to joint areas where glue will be applied
Don’t forget to clean up all dust with a tack cloth or vacuum before moving on to the next step.
Step 4: Size Matters – Selecting the Right Replacement Screws

When it comes to screw replacement, size really does matter. Using screws that are too small won’t provide enough hold, while screws that are too large can split the wood.
How to Choose the Correct Screw Size
- Match the length of the original screw
- Go slightly thicker in diameter for better grip
- Ensure the screw head sits flush with the wood surface
Remember: It’s better to err on the side of a slightly shorter screw than risk one poking through the other side of your chair.
Step 5: Putting the Pieces Together – Test Fitting and Pre-Screwing
Before you commit to gluing, it’s essential to do a dry run. This test fit will reveal any issues with alignment or fit that need to be addressed.
How to Partially Insert Screws
- Line up all chair parts as they’ll be assembled
- Insert screws partway, just until the tips poke through
- Back the screws out slightly so they don’t snag during gluing
This pre-screwing technique will make your final assembly much smoother.
Step 6: Stick to It – Gluing and Clamping
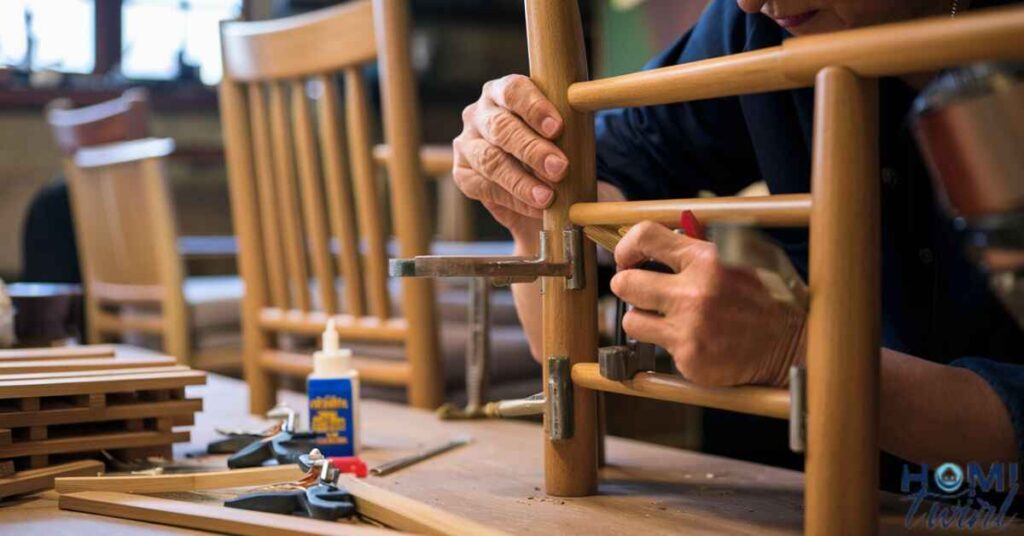
Now we’re getting to the heart of our furniture repair – gluing the pieces back together. This step requires patience and precision.
Wood Glue Techniques
- Apply glue to both surfaces that will be joined
- Use a small brush or spreader for even coverage
- Don’t oversaturate – a thin, even layer is best
After applying glue, assemble the pieces and tighten your screws. Then, it’s time to clamp.
Clamping Methods for Different Chair Types
- For leg joints, use corner clamps
- For back spindles, rubber bands or specialized chair clamps work well
- For seat joints, bar clamps across the width of the seat are effective
Leave clamps on for at least an hour, but preferably overnight for the strongest bond.
Step 7: The Waiting Game – Allowing Proper Drying Time
Patience is a virtue, especially in woodworking projects. Resist the urge to use your newly repaired chair right away!
Optimal Drying Conditions
- Room temperature: 70-80°F (21-27°C)
- Humidity: 40-50%
- Time: At least 24 hours, 48-72 hours for heavy-duty repairs
How to Test if the Repair is Fully Set
After the waiting period, give your chair a gentle shake. If you hear any creaking or feel any movement, give it more time to cure.
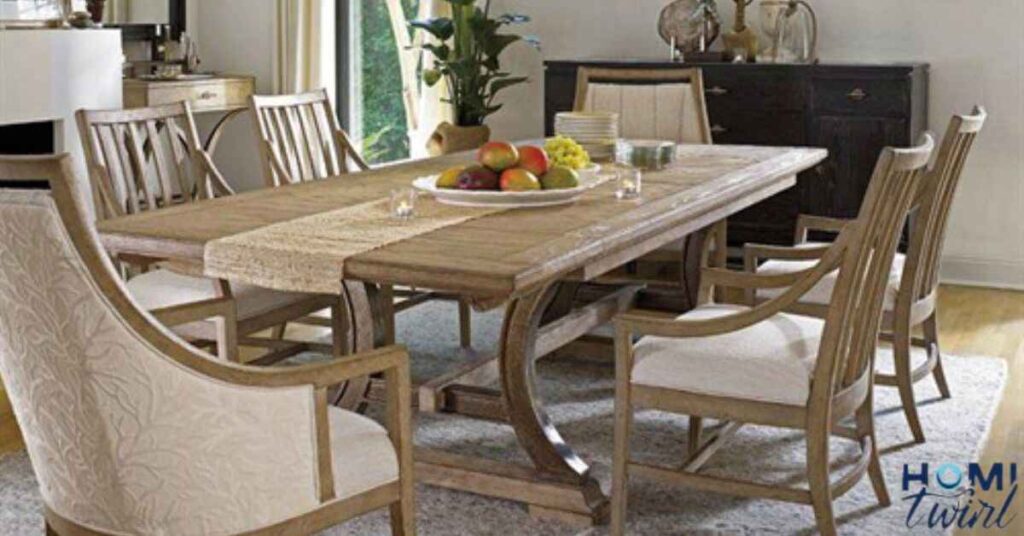
Finishing Touches: Restoring Your Chair’s Beauty

Congratulations! Your chair is structurally sound again. But why stop there? Let’s make it look as good as new.
Touching Up Scratches and Dings
For minor blemishes:
- Use a wood filler that matches your chair’s color
- Apply with a putty knife, let dry, and sand smooth
- Touch up with a matching wood stain marker
Refinishing Options for a Like-New Look
If your chair needs a complete makeover, consider these options.
- Stripping and restaining
- Painting for a modern look
- Distressing for a shabby-chic vibe
Frequently Asked Question
Can I repair a chair with broken legs?
Absolutely! Depending on where the break is, you may be able to glue it back together. For more severe breaks, you might need to replace the entire leg.
How do I fix a wobbly chair?
Wobbly chairs are often caused by loose joints. Tightening screws and re-gluing joints can usually solve this issue.
What’s the best way to repair loose joints?
Clean out old glue, apply fresh wood glue, clamp tightly, and allow ample drying time for the strongest repair.
Can I reupholster my dining room chairs myself?
Yes! Reupholstering is a great DIY project. You’ll need fabric, a staple gun, and some patience, but it’s definitely doable for a beginner.
How often should I check my chairs for needed repairs?
It’s a good idea to give your chairs a once-over every 6-12 months, tightening any loose screws and addressing small issues before they become big problems.
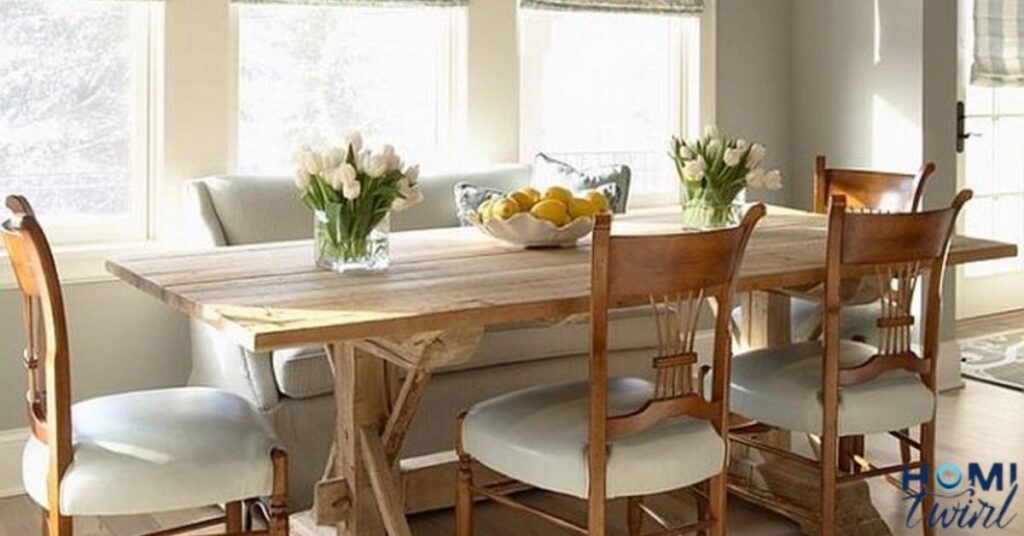
Conclusion
Repairing dining room chairs is a rewarding DIY project that can save money and extend the life of your furniture. By following simple steps like removing old glue, replacing screws, and ensuring a snug fit before applying wood glue, you can restore stability and functionality to your chairs.
Taking the time to sand and prepare the surfaces properly ensures a smooth finish and a strong bond. Using appropriate tools and materials, such as a rubber mallet and clamps, helps to achieve professional results without damaging the chair’s appearance.
Remember to allow sufficient drying time for the glue to set completely before using the chair again. With these steps completed, you can enjoy your meals comfortably and confidently, knowing your dining room chairs are securely repaired and ready for everyday use.