
Painting the inside of your house can seem hard, but with some tips, it can be easier. First, choose a color you like.
Think about what will look nice in your home. Next, get the right tools like paint rollers and brushes. Then, prepare your walls by cleaning them and filling any holes. If there are dents, fix them before painting. Cover your furniture with sheets so they don’t get paint on them.
Now, it’s time to paint! Put two coats on the walls, and let them dry. Finally, clean up any mess and enjoy your newly painted home.
Paint the Interior of Your House Like a Pro
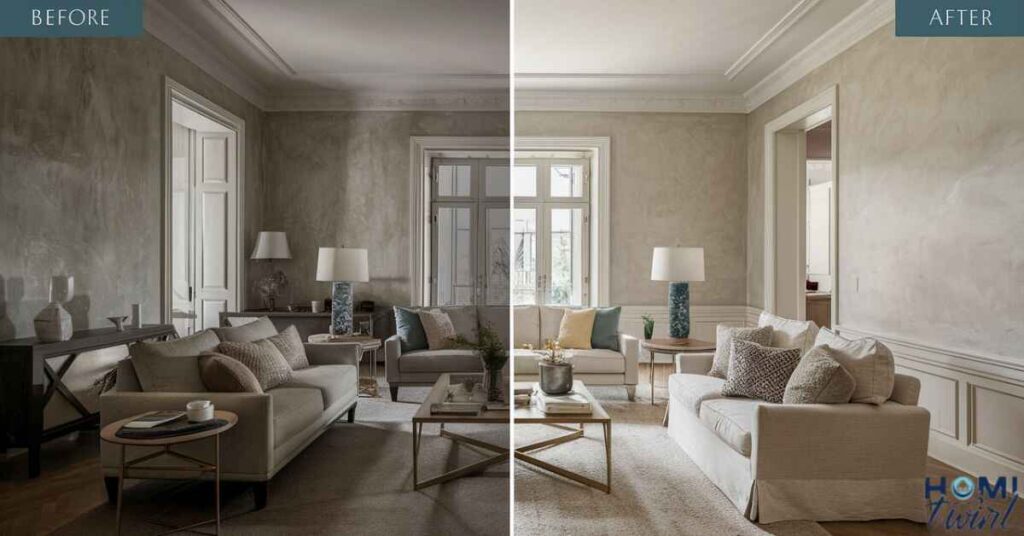
Giving your home’s interior a fresh coat of paint can completely transform the look and feel of any room. However, interior house painting is often more challenging than it seems. From proper preparation to flawless application.
Read This Blog: WHERE TO PLACE SUBWOOFER IN LIVING ROOM
There are many steps involved in achieving professional-quality results. This comprehensive guide will walk you through the entire interior painting process, ensuring a successful project with a beautiful, long-lasting finish.
Deciding on the Perfect Interior Paint Colors
Color has a profound impact on a room’s atmosphere and aesthetic appeal. When selecting paint colors for your interior, consider the room’s purpose and the mood you want to create. For example, a home office may benefit from an energizing, motivating shade like a warm yellow or light blue, while a bedroom should lean towards calming, restful tones like soft greens or grays.
It’s also essential to consider how different rooms flow together. Aim for a cohesive color scheme throughout your home by using complementary shades or variations of the same color family. To avoid costly mistakes, purchase small paint samples and test them on your actual walls before committing to a color.
Pro Tip: Lighting can significantly affect how a color appears, so observe the samples at different times of day and under various lighting conditions.
Gathering the Essential Painting Tools and Supplies

Having the right tools and supplies on hand can make a world of difference in the quality and efficiency of your interior painting project.
Here’s what you’ll need.
- Paint rollers (9-inch for larger surfaces, 4-inch for trim and edges)
- Paint trays
- Angled trim brushes
- Canvas drop cloths
- Painter’s tape (for clean lines around trim and edges)
- Spackling compound and putty knife (for filling holes and cracks)
- Sandpaper (for smoothing filled areas and rough surfaces)
- Paint stir sticks
- Clean rags or paper towels
Invest in high-quality tools, as they will not only perform better but also last longer. Additionally, buy a little extra paint and supplies to avoid running out mid-project.
Proper Surface Preparation is Key
Proper surface preparation is crucial for a smooth, long-lasting paint job. Follow these steps to ensure your walls are ready for their fresh coat.
- Thoroughly clean the walls: Use a degreaser or TSP (trisodium phosphate) solution to remove any dirt, grease, or old paint chips. This will help the new paint adhere better.
- Fill holes, cracks, and dents: Use a spackling compound to fill any imperfections in the walls. Allow the compound to dry completely before sanding it flush with the surrounding surface.
- Sand rough surfaces: If your walls have a heavily textured or uneven surface, lightly sand them to create a smooth base for the new paint to adhere to. Be sure to wipe away any dust before painting.
Taking the time to properly prepare your walls will pay off in the end, ensuring a professional-looking finish that lasts.
Make Those Minor Repairs First
Before you start painting, it’s essential to address any minor repairs that may be needed. Inspect your walls for loose nails, dents, or cracked moldings, and fix them accordingly. This will not only improve the overall appearance of your painted walls but also prevent future issues like paint cracking or peeling.
For loose nails, simply remove them and fill the holes with spackling compound. Dents and cracks can be filled with the same compound, while cracked moldings may need to be reattached or replaced entirely.
Quick Tip: If you plan to replace any baseboards or trim, it’s best to do so before painting the walls for a seamless finish.
Protecting Your Home with Drop Cloths
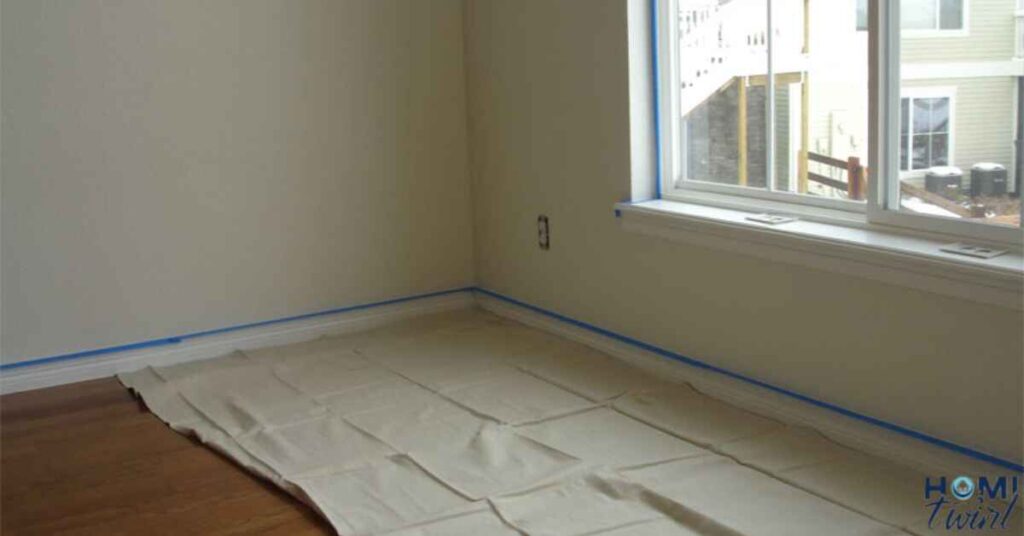
Interior painting can be a messy endeavor, but using drop cloths can help protect your floors, furniture, and other surfaces from accidental spills and splatters. Canvas drop cloths are the best choice, as they are durable and absorbent.
Also Read This Blog: HOW TO FURNISH A LARGE LIVING ROOM
Cover all surfaces that you don’t want painted, including floors, furniture, and any nearby fixtures or appliances. For added protection, use painter’s tape to secure the drop cloths and create clean lines around baseboards, trim, and other edges.
Don’t Forget: Also, consider covering any vents or air returns to prevent paint from entering your HVAC system.
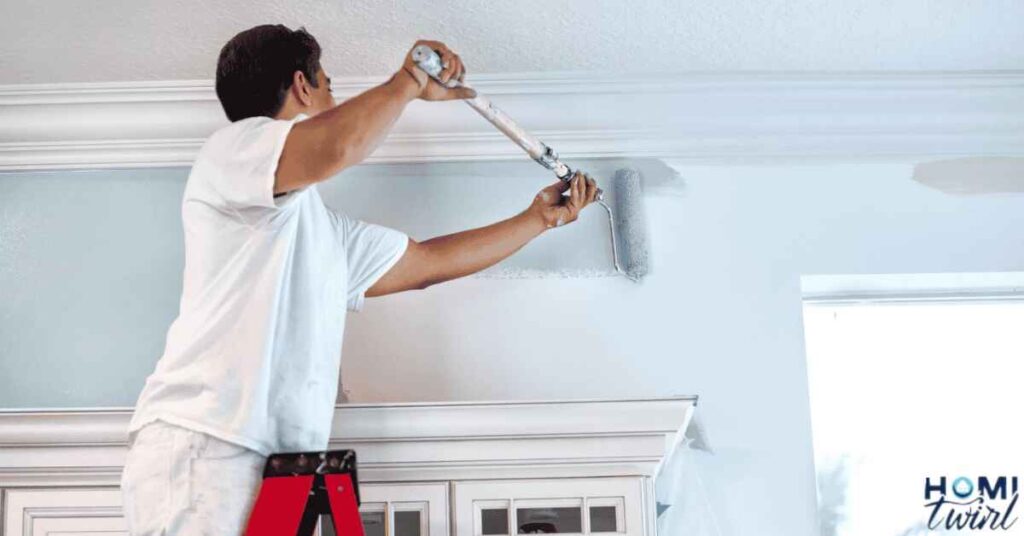
Applying Paint Like a Pro
With your walls prepped and your surfaces protected, it’s time to start painting! Follow these steps for a professional-looking finish.
- Prepare your paint: Stir the paint thoroughly to ensure an even consistency. If it seems too thick, thin it out with a small amount of water, as recommended by the manufacturer.
- Cut in the edges: Use an angled trim brush to “cut in” along the edges of the walls, baseboards, and around doors and windows. This will create clean, crisp lines.
- Roll on the main surfaces: Pour a workable amount of paint into a tray and load your roller. Apply the paint in a W or N pattern, overlapping each stroke by about a third. Roll in one direction, then the opposite direction to ensure even coverage.
- Allow proper drying time: Check the manufacturer’s recommended drying time between coats, typically 4-6 hours. Apply a second coat for optimal coverage and a professional-quality finish.
Pro Painting Techniques:
- Maintain a “wet edge” to avoid visible lap marks
- Use a brush and roller designed for the specific paint type (e.g., latex, oil-based)
- Apply paint in thin, even coats for a smoother finish
- Work in sections, completing one wall at a time
The Finishing Touches
After the final coat has dried completely (typically 24 hours), it’s time to finish up your interior painting project. Here are a few final steps.
- Remove all painter’s tape and drop cloths
- Clean up any spills or splatters using the appropriate solvent (water for latex paint, mineral spirits for oil-based)
- Properly store any leftover paint and supplies for future touch-ups or projects
- Consider repainting every 5-7 years to keep your interior looking fresh and vibrant
Congratulations, you’ve successfully transformed your home’s interior with a beautiful new paint job.
When to Call In the Professionals
While interior painting can be a rewarding DIY project, it can also be time-consuming and challenging, especially for larger homes or intricate spaces. In these cases, it may be worth considering hiring professional painters like those at Ohio Painting Company.
Experienced painters not only have the skills and expertise to deliver flawless results, but they also have access to high-quality tools and materials. Additionally, they can complete the job much faster than a DIY project, minimizing disruption to your daily routine.
“Hiring professional painters may seem like an added expense, but it can save you time, frustration, and potentially costly mistakes in the long run.” – Nick Goebel, Co-founder of The Ohio Painting Company
If you decide to hire professionals, be sure to research reputable companies, read reviews, and get detailed quotes before committing.
Frequently Asked Question
What color should I paint my walls?
Choose a color that matches your home’s style and your personal taste. Consider neutral tones for versatility.
Do I need to buy expensive painting equipment?
You don’t need to splurge. Invest in basic tools like rollers, brushes, and drop cloths, available at affordable prices.
How do I prepare my walls before painting?
Clean the walls to remove dust and dirt. Fill any holes or cracks with spackle, then sand them smooth for a flawless finish.
Can I paint over existing paint?
Yes, but ensure the old paint is clean and in good condition. Use a primer if changing colors or covering stains for better results.
How long does it take for paint to dry?
Drying times vary based on paint type and conditions. Generally, allow 12-24 hours for paint to fully dry before touching or applying another coat.
Can I hire someone to paint my house?
Absolutely! Professional painters can save time and ensure quality results. Research local painting services for the best fit.
What if I make a mistake while painting?
Don’t worry! Mistakes happen. Keep a damp cloth handy to quickly wipe off errors, or use painter’s tape to protect areas you don’t want to paint.
Conclusion
Painting the interior of your house can be a challenging but rewarding project. By following these step-by-step instructions, from selecting the perfect colors to applying paint like a pro, you can achieve stunning, long-lasting results that will breathe new life into your living spaces.
Remember, proper preparation is key, so take the time to clean, repair, and protect your surfaces before picking up a brush or roller. And if the task seems too daunting, don’t hesitate to call in the experts for a hassle-free, professional-quality paint job.
With a little patience and attention to detail, you can transform your home’s interior into a beautiful, personalized oasis that you’ll enjoy for years to come.