
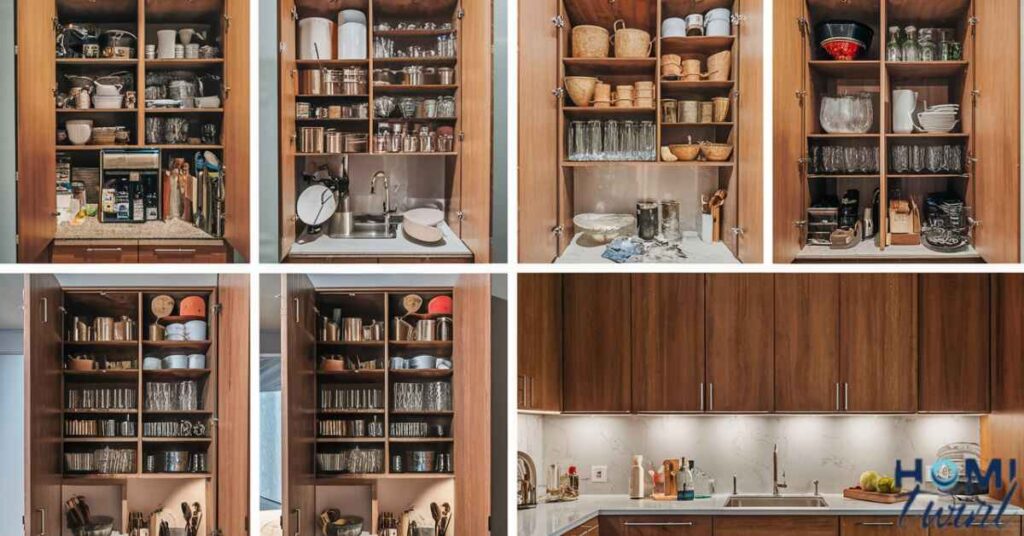
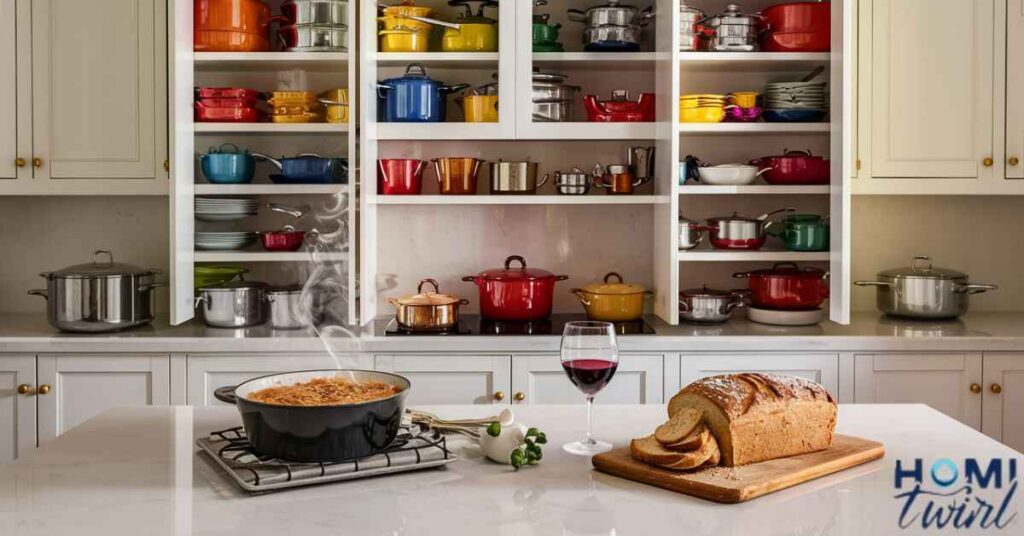
Organizing deep kitchen cabinets can be tricky, but it’s important for keeping your kitchen tidy and finding things easily.
Start by taking everything out of the cabinets and sorting items into categories like pots, pans, and food containers. Next, measure your cabinet space and choose organizing tools like shelves or baskets that fit well.
Then, place items back in an organized way, keeping frequently used items within reach. With these simple steps, you can make your deep kitchen cabinets work better for you.
Organize Deep Pantry Shelves – 10 Clever Ways To Maximize Your Kitchen Storage
Is your kitchen pantry a cluttered mess with items crammed haphazardly on the deep shelves? You’re not alone. Disorganized pantries are a common frustration for many households. Rummaging through precariously stacked cans and boxes wasting precious time searching for that one elusive ingredient.
Read This Blog: HOW TO CLEAN KITCHEN CABINETS FOR PAINTING
Fear not! With some smart strategies and simple storage solutions, you can transform even the most cavernous pantry into an organized, functional space. An efficient pantry streamlines meal prep, reduces food waste, and gives you a sense of calm when you open those cabinet doors. Follow these 10 clever tips to maximize your deep pantry shelves and achieve storage bliss.
1. Make a Plan
Before diving into the organization process, take a step back and make a plan of attack. A thoughtful strategy will ensure your efforts are effective long-term.
First, do a full pantry inventory – what items do you have, what needs using up, and what do you actually need more space for? Group like items together, such dry goods, canned foods, baking supplies, etc. Decide if you want to invest in storage containers or organizational systems for your pantry.
To simplify this step, use this downloadable pantry inventory checklist to catalog your stock and map out designated zones and categories.
2. Choose Pull-Out Storage
Deep pantry cabinets can become black holes where items get lost in the darkness. Eliminate rummaging blindly on those deep shelves by installing pull-out baskets or roll-out trays. These genius storage solutions bring everything right to you with just a gentle tug.
Look for adjustable options that can accommodate various shelf heights and product dimensions. Incorporate both shallow bins for snacks and deeper baskets to corral taller items like boxes and jars.
3. Reserve Lower Shelves for Heavier Items
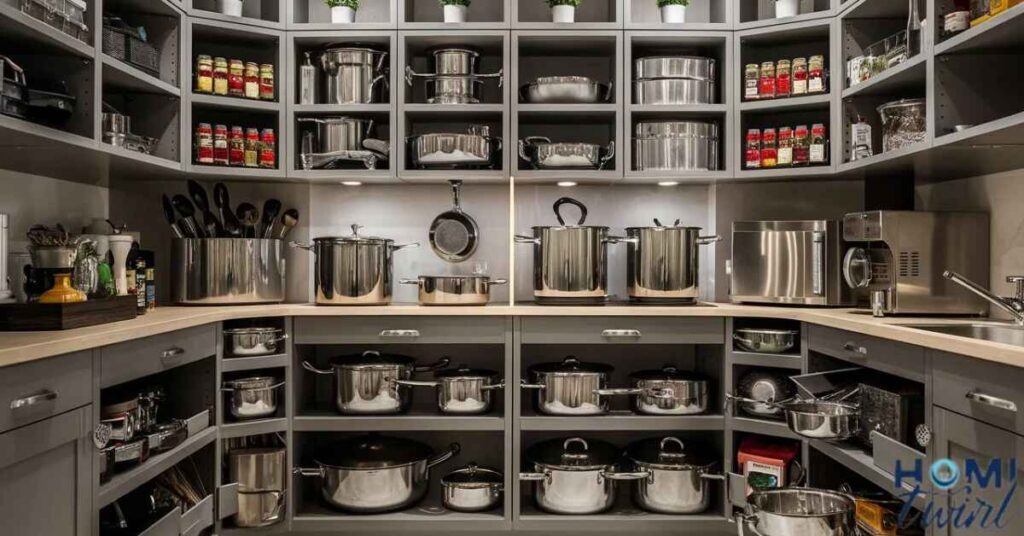
Reduce back strain and avoid potential spills or dropped items by strategically storing your heaviest pantry goods on those easy-to-reach lower shelves. Some examples of heavy items to keep down low.
- Flour
- Bulk grains and legumes
- Oils and vinegars
- Bulky cans and jars
- Large beverage bottles
- Pet food bins
This ergonomic strategy makes loading/unloading the bulkiest, heaviest products a breeze. No more struggling to lift or catch falling items from upper cabinets.
4. And Store Seldom-Used Items Up High
On the flip side, those uppermost shelves make perfect real estate for rarely accessed items you don’t need frequently. Holiday cooking supplies, serving pieces for special occasions, seasonal decor, and backup pantry surplus stock are all great candidates for the high shelves.
Also Read This Blog: HOW TO ADD TRIM TO CABINETS
Just be sure to do an annual pantry purge and rotation of those upper shelves – you don’t want to forget and let anything go stale or expire up there.
5. Enlist Pantry Helpers
Even with an organizational system, deep cabinets can leave lots of nooks and crannies where small items disappear or products get hidden behind taller goods. Invest in a few pantry organization helpers to keep everything visible and easily accessible.
- Turntables – These lazy susan-style rotating trays are magic for corner cabinets, allowing you to spin and grab what you need without removing everything.
- Risers/Stairs – Elevate shorter items in the back rows so you can easily view all products.
- Dividers – Using vertical partitions transforms a jumbled shelf into tidy divided sections for containing items.
These simple helpers prevent frustrating searches and items getting lost or overlooked in the depths of your pantry.
6. Stack Food in Height Order
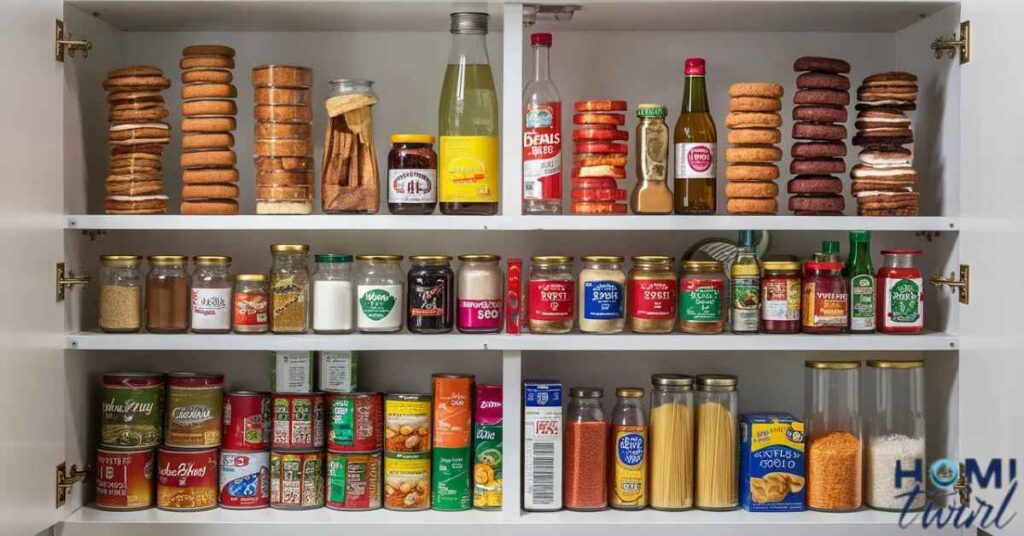
For open shelves without doors, arrange your pantry foodstuffs in neat stacked rows from tallest to shortest. Line up taller items like cereal boxes in the back, then step down row by row to the shortest goods in front. No packages concealed or items missed at a glance.
This stacking strategy creates a streamlined look while making the full inventory visible and easy to grab. Within each row, leave a bit of space between products so air can circulate and prevent any moisture buildup.
7. Pay Attention to Use-By Dates
While organizing, take note of expiration dates and practice smart food rotation. For any duplicate pantry products, position the older items in front of the newly purchased goods so they get used first before potentially expiring.
This simple system prevents food waste from forgotten items languishing too long on the shelves. Keep items together so you can easily see your full stock and plan grocery trips accordingly.
Be sure to learn how to decipher food date labels.
- Best By – Peak quality/freshness, but still safe to consume past this date
- Use By – Last day for peak quality, should be used or frozen by this date
- Expiration – Throw away after this date passes to avoid spoilage
8. Create Eye-Pleasing Displays
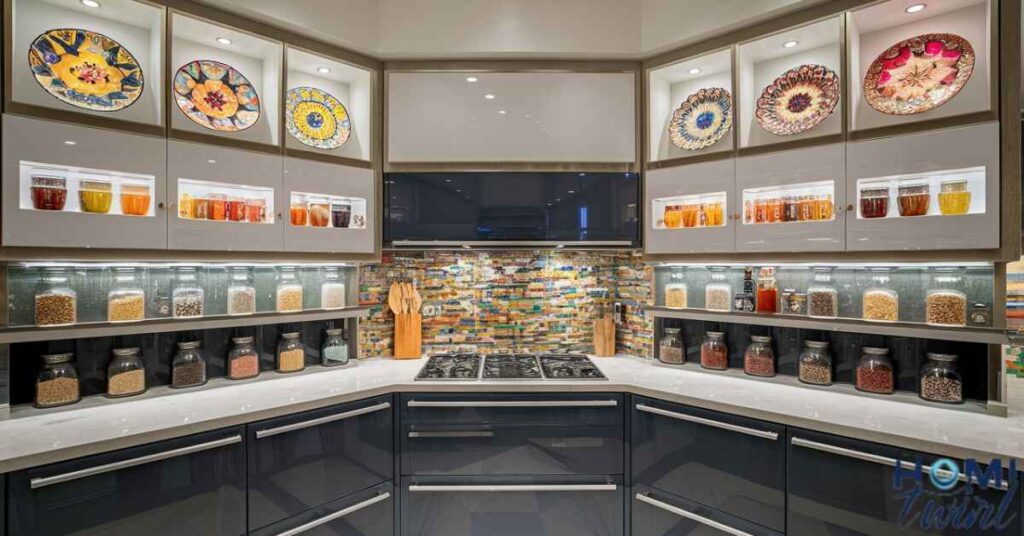
Why not make your newly organized pantry a showpiece while you’re at it? For an instantly polished look, transfer dried goods like grains, pastas, snacks and baking supplies into clear glass or sturdy plastic canisters and jars.
Using uniform storage pieces creates an orderly, cohesive display that makes your efforts look purposeful and stylish. Label each container clearly with the item name for easy identification – use a label maker or chalk markers to make swapping labels simple as your inventory rotates.
Arrange these pantry displays neatly on the shelves in ascending height order or group together in dedicated zones for different categories. Now you’ll enjoy savoring your hard work every time those doors open.
In an organized home, you know where everything is, you don’t trip as much and you feel a greater sense of calm.
- Marie Kondo, Organizational Consultant
9. Store Appliances on Deep Pantry Shelves
Free up precious counter space in your kitchen by utilizing deep pantry shelves for storing bulky, infrequently used countertop appliances. Shift that bread maker, quesadilla grill, or electric pressure cooker into that expansive pantry cabinet.
Reserve prime counter zones only for everyday essentials, then tuck those single-use or seasonal appliances out of the way until needed. Be sure to allow some clearance space around appliances so you can easily grab them when cooking.
10. Don’t Be Tempted to Overload
One final crucial tip – exercise restraint! Even with your new storage solutions and organizational systems, don’t succumb to the temptation of cramming every nook and cranny.
Leave a bit of breathing room on each shelf to prevent disorganization from inevitably creeping back in over time. Overloaded pantries don’t allow airflow for moisture control and can even attract pantry pests like moths or ants.
Build in some empty shelf space as a visual cue to stock up more judiciously on just what you need and can realistically use before expiration dates. Over-buying or failing to use up supplies is a recipe for waste and cluttered chaos.
| Potential Pantry Pests | Signs/Prevention |
| Indianmeal Moths | Discard old grains, deep clean |
| Ants | Seal entry points, clean spills |
| Weevils | Toss infested items, freeze grains |
Frequently Asked Question
How do I start organizing deep kitchen cabinets?
Begin by emptying the cabinets and sorting items into categories like pots, pans, and utensils. Then, measure your cabinet space and choose suitable organizing tools.
What should I do with items I rarely use?
Consider storing infrequently used items in less accessible areas or declutter them by donating or discarding.
Can I use stackable containers to maximize space?
Yes, stackable containers are great for utilizing vertical space efficiently and keeping similar items together.
How do I prevent items from getting lost in deep cabinets?
Use drawer dividers, shelf risers, or clear containers to keep smaller items visible and accessible.
Should I label my storage containers?
Labeling containers can help maintain organization and make it easier to find what you need quickly.
How often should I reorganize my deep kitchen cabinets?
It’s a good idea to reassess your organization system every few months to make adjustments as needed.
What’s the best way to maintain an organized cabinet system?
Regularly decluttering, returning items to their designated spots, and avoiding overcrowding can help sustain an organized kitchen cabinet system.
Conclusion
organizing deep kitchen cabinets is a practical way to enhance functionality and efficiency in your kitchen space. By implementing simple strategies such as decluttering, categorizing items, and utilizing space-saving tools like shelves and containers, you can create a well-organized environment that makes cooking and meal preparation more enjoyable.
Regular maintenance, including periodic reassessment and adjustment of your organization system, is key to sustaining orderliness over time. Remember, the goal is to optimize accessibility and visibility while minimizing clutter, allowing you to easily locate and retrieve items when needed.
With dedication and a thoughtful approach, you can transform your deep kitchen cabinets into an organized oasis that supports your culinary endeavors and simplifies your daily routine.