
Giving your kitchen a remarkable makeover by painting the cabinets requires meticulous preparation. Properly cleaning and degreasing the surfaces is paramount for optimal paint adhesion and longevity.
This comprehensive guide covers inspecting for problem areas, gathering essential supplies like degreasing agents and scouring pads, step-by-step instructions for effective cabinet scrubbing techniques, repairing any wood damage, scuff sanding for a smooth base, choosing the ideal primer to block stains and odors, and finally, applying a high-quality paint formulated for cabinets.
Follow these best practices to achieve a flawless, professional-looking paint job that withstands the test of time.
How To Clean (PREP) Wood Kitchen Cabinets Before Painting
Giving your kitchen a fresh new look by painting the cabinets can be an extremely rewarding DIY project. However, the key to achieving a flawless, long-lasting paint job lies in the preparation.
Read This Blog: HOW TO ADD TRIM TO CABINETS
Properly cleaning and degreasing the wood surfaces is crucial for optimal paint adhesion and a professional-looking finish. In this comprehensive guide, we’ll walk you through the best practices for cleaning kitchen cabinets before painting.
It’s All In The Prep Work
The old adage “failing to prepare is preparing to fail” rings especially true when it comes to painting kitchen cabinets. No matter how high-quality the paint or how skilled the painter, if the surface isn’t properly prepped, the results will be disappointing. Think of it this way: the prep work lays the foundation for a smooth, even paint application and long-lasting durability.
First Step – Gather Your Supplies To Clean And Prep
Before diving in, ensure you have all the necessary supplies on hand. This will streamline the process and prevent frustrating interruptions. Here’s what you’ll need.
- Scouring pads (Scotch-Brite pads work well)
- Putty knife or scraper tool
- Large plastic bucket
- Clean rags or cloth towels
- Heavy-duty degreaser (we recommend Krud Kutter)
- Spray bottle
- Sponges
- Rubber gloves
- Plastic drop cloths
- Wood filler
- Sanding blocks (various grits: 120, 150, 220)
- Shop vacuum
Having these supplies within reach will make the cabinet surface preparation and wood cabinet cleaning process much smoother.
Inspect The Wood Cabinets Before Cleaning
Before you begin cleaning grease from cabinets, it’s essential to thoroughly inspect the surfaces for any areas that may require extra attention. Look for.
- Heavy grease buildup, especially around the stovetop or oven
- Stains or spills that have soaked into the wood
- Damage such as dents, scratches, or holes that may need repair
Taking the time to identify these problem areas upfront will ensure you don’t miss any spots during the pre-painting wood cabinet care.
Surface Preparation
Now it’s time to roll up your sleeves and get started with the cabinet surface preparation. Follow these steps.
- Remove all items from the cabinets: This includes dishes, cookware, and any other stored items. Don’t assume the cabinets are already empty, even in a newly built home.
- Vacuum the cabinets thoroughly: Use the hose attachment on your vacuum to remove any loose dirt, dust, or debris from the cabinet surfaces, shelves, and corners.
Important Things To Look For
As you’re working through the cabinet surface preparation, keep an eye out for any stubborn substances that may cause adhesion issues for the paint, such as.
- Candle wax
- Crayon marks
- Dried food or grease splatters
These will need to be carefully removed using a putty knife or scraper tool before proceeding with the deep cleaning.
Mixing The Degreaser – Cleaning Solution
An effective degreaser is the secret weapon for cleaning grease from cabinets and achieving a pristine surface for painting. Here’s how to mix up a powerful cleaning solution.
Also Read This Blog: HOW TO HANG A WALL CABINET WITHOUT STUDS
- Fill a large bucket with warm water.
- Add the recommended amount of heavy-duty degreaser (follow the product’s instructions for the proper ratio).
- For extra greasy areas, consider using the degreaser at full strength.
- Transfer some of the degreaser solution to a spray bottle for easy application in hard-to-reach spots.
“A good degreaser is worth its weight in gold when it comes to preparing cabinets for painting.” – Professional Painter
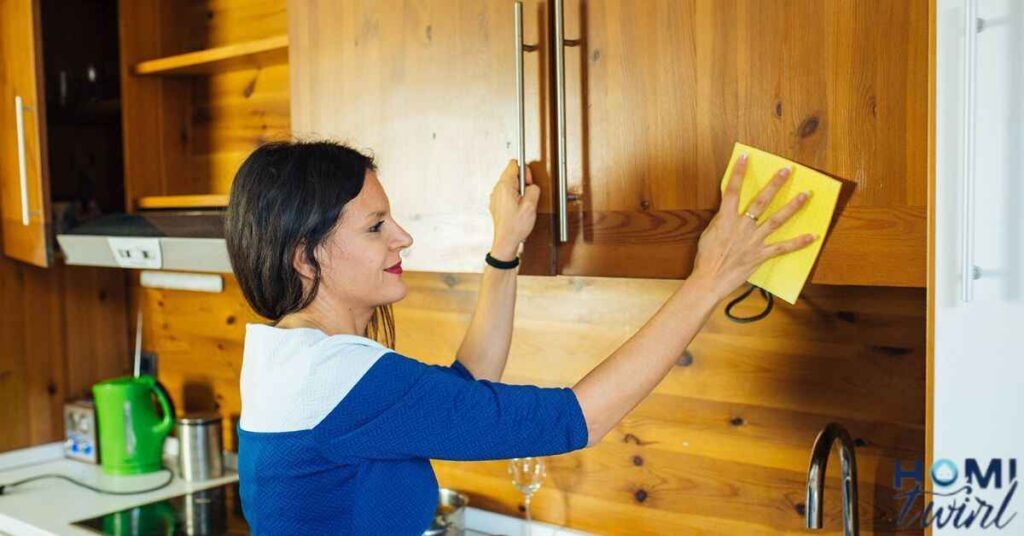
Effective Cleaning – Important Step
With your degreaser solution mixed and ready to go, it’s time to tackle the cabinet scrubbing techniques. Here’s how.
- Protect your floors: Lay down plastic drop cloths to catch any drips or spills from the cleaning process.
- Work in sections: Start at the top of the cabinets and work your way down, doing one section at a time.
- Scrub with the degreaser: Spray the degreaser solution directly onto the cabinet surfaces and use a scouring pad to scrub in circular motions. Apply extra elbow grease to any particularly greasy areas.
- Rinse and dry: Use clean water and rags to thoroughly rinse away the degreaser solution, then dry the surfaces completely with fresh, dry towels.
Repeat this process until all cabinet surfaces have been thoroughly degreased and cleaned.
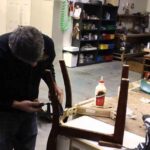
After Cleaning, Look For Areas That Need Wood Repair
Once the cabinets are sparkling clean, it’s time to assess any areas that may need wood cabinet surface repair. Look for.
- Holes or dents that need to be filled with wood filler
- Scratches or gouges that should be sanded smooth
Don’t skip this step! Any imperfections in the wood surface will be exaggerated once the new paint is applied.
Scuff Sanding The Surface Of The Cabinets
Even if the cabinet surfaces appear smooth after cleaning, it’s essential to scuff sand them before painting. This will help rough up the surface and create a “tooth” for the new paint to adhere to properly.
Use a sanding block and work in the direction of the wood grain, starting with a coarser 120-grit paper and progressing to a finer 220-grit for the final pass.
Primer Before Painting – Why I chose An Oil-Based Primer

While it may seem like an extra step, priming the cabinets before painting is an absolute must. Not only does it help the topcoat adhere better, but it also blocks any existing stains or odors from bleeding through.
For kitchen cabinets, we highly recommend using an oil-based primer like Zinsser Cover Stain. These primers are specially formulated to seal in any lingering grease or cooking odors that may have soaked into the wood over time.
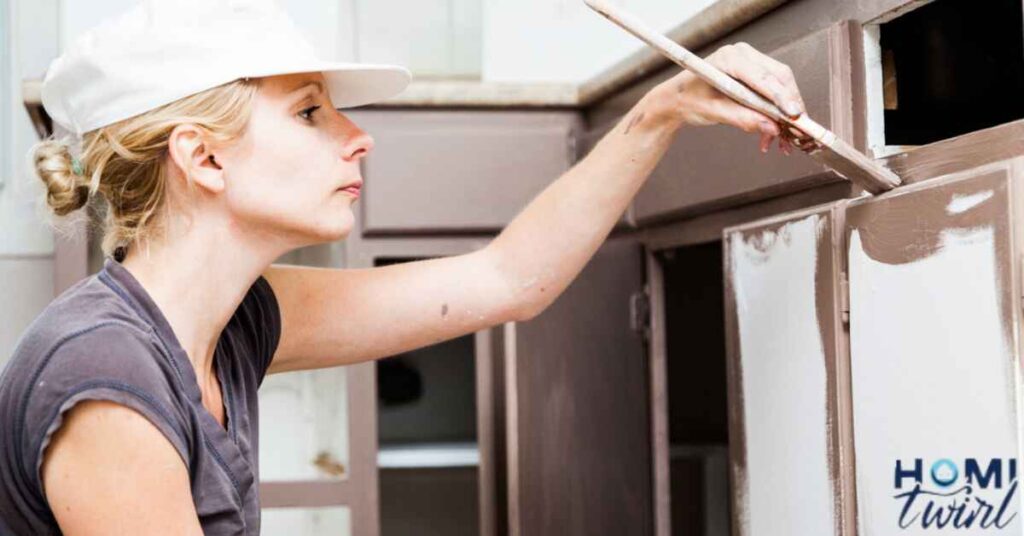
Successful Paint Job
After all that hard work prepping, it’s finally time for the fun part – painting! For a smooth, factory-like finish on your kitchen cabinets, we recommend using a high-quality enamel paint designed specifically for trim and cabinetry.
One top-rated option is Sherwin Williams’ Emerald Urethane Trim Enamel. This water-based alkyd enamel dries to an incredibly hard, durable finish that can withstand the daily wear and tear of a busy kitchen.
Be sure to apply at least two coats of paint, following the manufacturer’s instructions for proper drying times between coats.
The Before & After Results
There’s nothing quite as satisfying as stepping back and admiring your freshly painted kitchen cabinets. The transformation from dull, dingy, and outdated to bright, clean, and modern is truly remarkable.
Take a look at these before and after photos to see just how much of a difference proper cabinet cleaning and painting can make.
With a little elbow grease and the right cabinet cleaning tips, you too can achieve stunning, like-new kitchen cabinets with a fresh coat of paint.
Painting kitchen cabinets is no small task, but by following these best practices for cabinet cleaning and preparing cabinets for painting, you’ll be setting yourself up for a professional-quality, long-lasting finish that you can be proud of for years to come.
The Importance of Patience and Perseverance
While the process of cleaning and prepping cabinets for painting may seem tedious, it’s crucial not to rush or cut corners. Skipping steps or using subpar materials can quickly lead to disappointing results that won’t stand the test of time.
As David, a professional cabinet painter, puts it, “I can’t stress enough how important proper prep is. I’ve had customers try to save time by not cleaning thoroughly or skipping the priming step, and it always ends up being a headache down the road when the paint starts chipping or peeling.”
So take your time, follow the steps methodically, and don’t be afraid to go over areas multiple times if needed. Your future self will thank you when those freshly painted cabinets still look flawless years later.
Case Study: The Power of Proper Prep

To illustrate just how transformative (and lasting) a well-prepped cabinet painting project can be, let’s look at a case study from one of David’s recent clients.
Before: The kitchen cabinets were a dated oak finish, coated in a thick layer of grease and grime from years of cooking. Previous owners had also carelessly patched holes and dents with mismatched wood filler, creating an unsightly patchwork effect.
The Prep Process:
- All cabinets were thoroughly degreased using a heavy-duty cleaner and scrubbing pads.
- Damaged areas were properly repaired with wood filler and sanded smooth.
- The entire surface was scuff-sanded and cleaned to create an ideal base for priming.
- Two coats of high-quality stain-blocking primer were applied.
After:
The meticulously prepared surfaces allowed the new coats of semi-gloss white paint to go on smoothly and evenly, accentuating the cabinet’s sleek lines and transforming the entire kitchen. Three years later, the paint job still looks as fresh as the day it was completed.
As this case study demonstrates, investing the time and effort into effective cabinet cleaning methods pays off exponentially in the long run.
Pro Tips for a Flawless Finish
Over his years of experience, David has picked up some clever tips and tricks to make your cabinet painting project go even more smoothly.
✔️ Use painter’s tape to create clean, crisp lines where the cabinets meet walls, countertops, or backsplashes. Remove tape while the final coat is still slightly wet for the crispest edges.
✔ ️ Lightly sand between coats of primer or paint using a fine 320-grit paper. This creates an even smoother finish.
✔ ️ For stubborn grease that won’t budge, make a baking soda paste with water and let it sit for 15 minutes before scrubbing. The abrasive baking soda will help cut through built-up grime.
✔️ Consider using a paint sprayer instead of brushes/rollers for a smoother final finish on frame surfaces and doors. Just be sure to properly prepare your workspace to contain overspray.
✔ ️ Always, always let each coat cure fully before use, even if it means keeping the kitchen off-limits for a few days. Rushing this step can quickly compromise all your hard prep work.
With these pro tips in your back pocket, you’ll be well on your way to cabinet painting perfection!
By taking the time to thoroughly clean, degrease, repair, sand, and prime your kitchen cabinets, you’re setting the stage for a fresh new look that will withstand the test of time. So don’t cut corners on the prep – your future self will be glad you didn’t.
Frequently Asked Question
What is the best degreaser to use?
Krud Kutter is highly recommended as an effective and heavy-duty degreaser. It cuts through built-up grease and grime extremely well.
Do I really need to prime cabinets before painting?
Yes, priming is crucial! It helps the topcoat adhere properly and blocks any existing stains or odors from bleeding through.
How do I repair small dents or holes in the wood?
Use a wood filler product to fill holes and dents, allow to dry completely, then sand smooth before painting.
What grit sandpaper should I use?
Start with a coarser 100-120 grit, then progress to 150-220 grit for the final smooth finish before priming/painting.
Is it better to spray or brush/roll on the paint?
Spraying tends to give a smoother finish, but requires overspray protection. Brushing/rolling is also effective if done properly.
Conclusion
Transforming your kitchen cabinets with a fresh coat of paint is an extremely rewarding DIY project, but one that requires patience and attention to detail. By following the comprehensive steps outlined in this guide – from thoroughly degreasing and inspecting the surfaces, to repairing any imperfections, sanding for a smooth finish, priming with a stain-blocking product, and finally painting with a high-quality cabinet enamel – you’ll be setting yourself up for stunning, professional-level results.
Don’t be tempted to cut corners or rush through the cleaning and prepping process. Putting in the hard work upfront ensures your new painted cabinets will retain their flawless looks for years to come, withstanding the inevitable wear and tear of a busy kitchen. With some elbow grease and the right techniques, you can achieve a remarkable cabinet transformation that will be the envy of your neighborhood.