Enhancing the aesthetic appeal of cabinets doesn’t always necessitate a complete overhaul. Adding trim offers a budget-friendly and creative solution to breathe new life into tired cabinetry.
Whether aiming for a contemporary update or a traditional touch, the process remains relatively straightforward. From selecting the appropriate molding to meticulous installation techniques, this guide will walk you through the steps needed to transform flat cabinet doors into stylish focal points.
Explore how a simple addition of trim can elevate the look of your space with minimal effort and expense.
Step One – Planning and Materials
Before diving into your cabinet trimming project, take a moment to gather inspiration and visualize the trimmed look you want to achieve. Scour home improvement magazines, browse online galleries, or even snap photos of trimmed cabinets you admire in friends’ homes or local businesses. Determine if you prefer a sleek, modern trim profile or something more ornate and traditional to complement your space’s overall style.
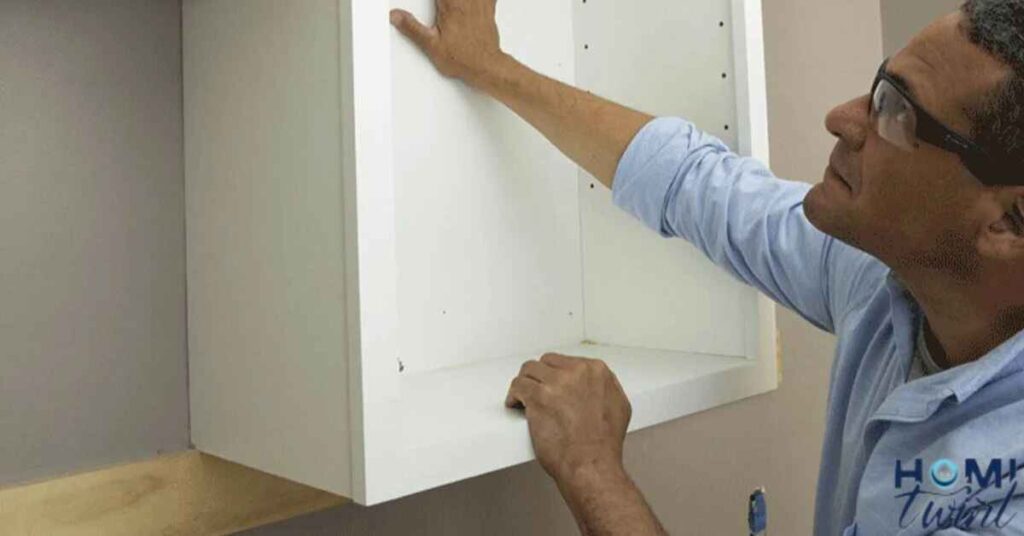
Read This Blog: HOW TO HANG A WALL CABINET WITHOUT STUDS
Once you have a clear vision in mind, it’s time to start planning the materials and supplies you’ll need.
Materials Checklist:
- Trim Molding Pieces: Choose a trim profile that enhances but doesn’t overwhelm your cabinet doors. Sleek, subtle designs often create the most impact.
- Heavy-Duty Construction Adhesive: Look for an adhesive like No More Nails or Liquid Nails that provides a strong, lasting bond.
- Paintable Caulk: For a seamless finish, you’ll need to caulk any gaps or seams after installing the trim.
- Wood Filler: This will help you achieve smooth, flawless corners and edges.
- Sandpaper: For lightly roughing up surfaces before painting or priming.
- Primer and Semi-Gloss Paint: A good quality primer (like BIN Shellac-Based Primer) and semi-gloss cabinet enamel (such as Benjamin Moore Advance in Pearl Finish) will ensure a durable, moisture-resistant finish.
- New Cabinet Hardware (Optional): If desired, pick out sleek new knobs, pulls, or handles to complete the transformation.
With your vision set and materials gathered, you’re ready to start trimming! But first, a crucial preparation step.
Marking the Trim
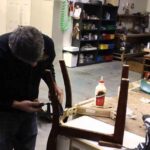
Before adding any trim pieces, ensure your cabinet doors are properly adjusted so they’re level with consistent gaps at the top and bottom when closed. Most cabinet door hinges have adjustment screws that allow you to slightly shift the doors left, right, up, down, and in-and-out depth-wise using a screwdriver.
Take the time to make any necessary adjustments now – it will pay off with professional-looking results later. Once your doors are level and aligned, use a pencil to clearly mark straight trim layout lines on the cabinet fronts.
- Measure and mark a consistent distance from the edge of each door for your trim placement. Using a level can help, but measuring identical distances often works better if your cabinet frames are slightly off-level.
- Extend these trim layout lines across multiple adjoining cabinet doors so the trim pieces will align beautifully in a continuous pattern.
- Step back and double-check that all your penciled layout lines look straight and level before proceeding.
With your cabinet doors prepped and the trim layout marked, you’re ready for the next phase!
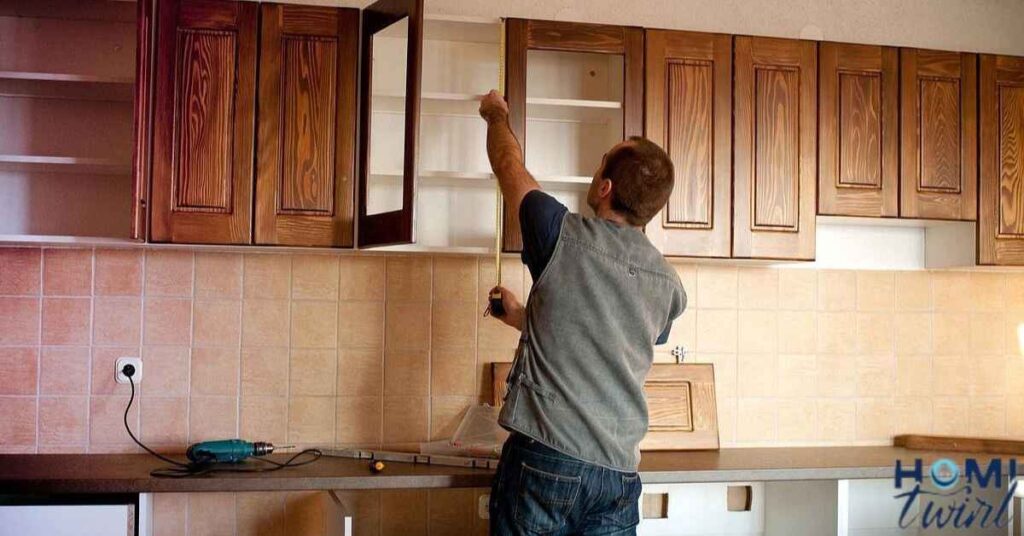
Measuring and Cutting the Trim

Carefully measure the exact dimensions between your penciled layout lines for each unique trim piece needed. Make notes as you go, distinguishing between pieces that are the same length and those that will be different (such as a longer piece spanning across multiple cabinets).
Using a manual miter box and saw or powered miter saw, cut each trim piece to size with 45-degree-angled ends. This beveled edge will create tight mitered corners for a clean, professional finish. As tempting as it may be to rush, take your time on these crucial cuts – they’ll make or break the final look.
Pro Tip: If continuing a long trim piece across multiple cabinets, cut one end square and the other at a 45-degree angle so the mitered seams interlock seamlessly.
Also Read This Blog: HOW MANY HINGES PER CABINET DOOR
Installing the Trim on the Cabinet Doors
With all your trim pieces precisely cut and ready, it’s time for installation! This is where that heavy-duty construction adhesive like No More Nails or Liquid Nails comes into play.
Apply a generous, even bead of adhesive along the backside of each trim piece. Then, carefully position and press the trim into place following your penciled layout lines as a guide. The adhesive should hold it securely, but you can also use painter’s tape across the top as added security while it dries.
As you work your way around each cabinet door, frequently step back and check that corners are tightly mitered and seams are properly aligned. Use the eraser end of a pencil or a plastic putty knife to gently adjust any pieces that look slightly off before the adhesive sets fully.
Let the adhesive cure completely according to the manufacturer’s instructions. Once set, your cabinet doors will have stunning new dimensions and architectural interest.
Caulk and Paint
With the trim firmly adhered, go back and use a flexible, paintable caulk like Polyseamseal to fill any remaining gaps or cracks where the trim meets the cabinet surface. A caulking gun makes this step much easier and produces professional results. Once the caulk dries completely, use a putty knife or sanding block to smooth any excess for a flawless finish.
You’ll also want to use a wood filler at the inside corners to create a seamless, continuous look where the mitered trim pieces meet. Let the wood filler dry fully, then lightly sand the filled areas until perfectly flush.
Now it’s paint time! Whether you want to refresh the entire cabinet base with a new color or just focus on the newly-trimmed doors, proper priming and painting will really make your hard work pop. Professional painters recommend priming cabinets with an oil-based stain blocker like BIN Shellac-Based Primer before applying 2-3 coats of a sleek, moisture-resistant cabinet paint like Benjamin Moore’s Advance in semi-gloss or pearl finish.
For an ultra-smooth look, you can spray or brush/roll the doors and bases. Just be sure to follow all manufacturer instructions on dry times between coats.
Reinstall the Doors and Add Hardware
With those cabinet doors now trimmed to perfection and freshly painted, it’s time for the big reveal! Carefully reinstall the doors, double-checking that each one opens, closes, and aligns properly. Adjust those hinges as needed so everything looks flawless.
If you’ll be updating the cabinet hardware, this is when things can get a little nerve-wracking. But don’t worry – with careful measuring, you can install stylish new knobs, pulls, or handles with precision.
For a seamless look spanning multiple cabinet doors, opt for long bar pulls or edge pulls with extended end caps. Use a straight edge to lightly pencil an alignment guide across the adjoining doors where you want the hardware placed. Carefully measure and mark the hole locations so the hardware aligns when installed.
Pro Tip: Drill your hardware holes slightly larger than the screw size. This gives just a smidge of wiggle room for making micro-adjustments and ensuring everything looks flawlessly straight.
Before and After
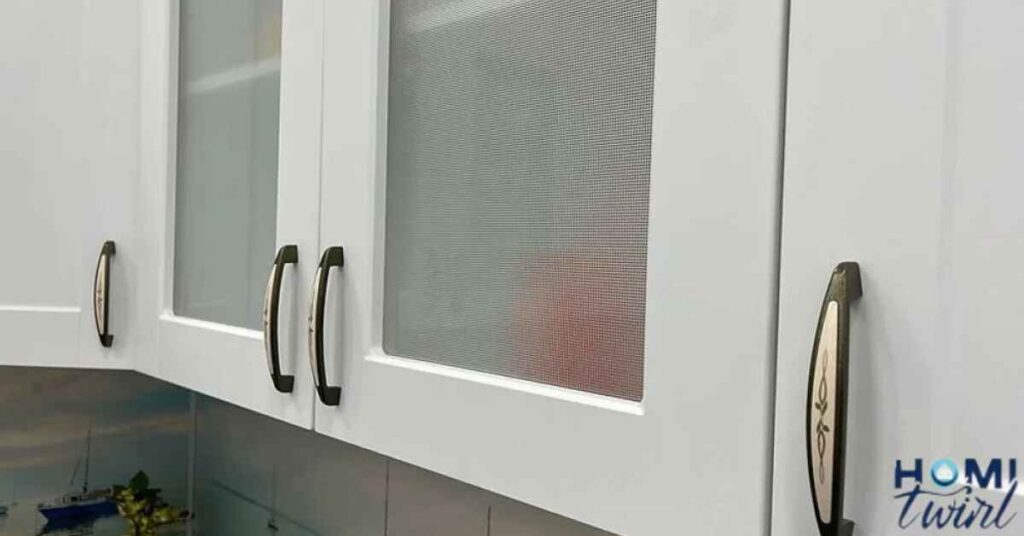
Step back and prepare to be amazed! With the new sleek hardware installed, your once plain, flat cabinet doors now have incredible depth, style, and visual interest thanks to the custom trimmed detailing. The entire room feels elevated and refreshed.
Compare before and after photos to fully appreciate your handiwork. That small, budget-friendly investment in cabinet trim and new hardware packs a huge design punch! Your kitchen or bathroom looks like it could grace the pages of a high-end home magazine.
Shop the Post
Ready to get started on your own cabinet trimming transformation? Here are some product links to the key materials and supplies used.
- Trim Molding – The slim, versatile profile shown
- No More Nails Adhesive – This heavy-duty construction adhesive provides a strong, lasting bond
- Painter’s Caulk – Flexible and paintable for a seamless, pro finish
- Wood Filler – Helps create flawless mitered inside corners
- BIN Primer – This shellac-based stain blocker is ideal for prepping cabinets
- Benjamin Moore Advance – A sleek, moisture-resistant cabinet enamel in semi-gloss Finish
- Bar Pulls – These modern bar style pulls span across multiple doors
With some creative vision and the right materials, you too can uplevel your dated cabinets into envy-inducing showpo.
You Might Also Like:
If you enjoyed this cabinet trimming tutorial, check out these other budget-friendly DIY projects for upgrading your home’s style:
- How to Add Board and Batten for Rustic Charm: Create architectural interest and texture by installing vertical board and batten trim detailing on walls, ceilings, or cabinets.
- Shaker Style Cabinet Makeover: Learn how to easily convert dated flat cabinet fronts to the timeless shaker style using simple trim pieces.
- Built-In Bookcases with Custom Trim: Step-by-step instructions for trimming out basic bookshelves to make them look like high-end, custom built-ins.
- Mudroom Makeover on a Budget: Smart, stylish tips for adding custom trim details and other affordable upgrades to make your mudroom feel like a million bucks.
With a little creativity and some basic trim skills, there’s no limit to the custom looks you can achieve in your home! Get ready to be the envy of your neighborhood.
Case Study: Katie’s Laundry Room Transformation
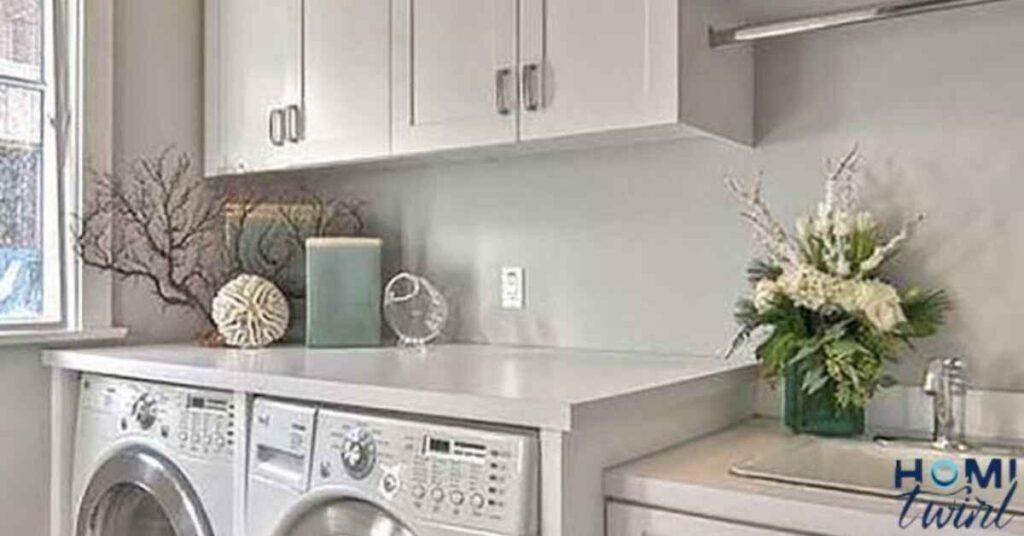
To see this cabinet trimming technique in action, let’s take a look at Katie’s incredible laundry room makeover featured on her popular home decorating blog. In her own words:
“In my laundry room remodel earlier this year, I had a couple of very basic flat front cabinets above the washer and dryer that were perfectly functional but completely lacked style. Rather than splurging on brand new cabinets for this mini makeover, I decided to add some budget-friendly trim detailing to give them a major visual interest upgrade and modern custom look.”
Katie carefully marked and installed a simple box pattern trim design spanning across the adjoining cabinet doors using basic pine molding. “I think the key is keeping the trim profile relatively small and sleek so it enhances but doesn’t overwhelm. You’d be surprised how much impact is created with just some thin strips of molding.
After adhering the trim using construction adhesive, caulking any seams, and giving the cabinets a fresh coat of Benjamin Moore’s crisp Edgecomb Grey paint, Katie hung new extended bar pulls across both doors for a seamless, high-end look.
“I’m still amazed at the custom, built-in cabinet style I was able to achieve with just some basic molding and new hardware. It’s such an affordable way to totally transform blah cabinets and add incredible style to any room!”
The Power of Trim
Katie’s stunning before and after photos prove the amazing impact that some strategic trim installation can have on dated, flat cabinets. What was once a boring, utilitarian laundry room is now a stylish, magazine-worthy space thanks to relatively simple DIY skills and affordable materials like adhesive, trim molding, caulk and paint.
So don’t settle for drab cabinets a moment longer! With this comprehensive trimming tutorial, you have all the knowledge needed to uplevel your kitchen, bathroom, or any other room with sleek, custom trim work detailing. A little creativity, patience, and elbow grease are all it takes to create an incredibly high-end look on a smart budget. Your “new” cabinets are just a few weekends of work away.
Frequently Asked Question
What type of adhesive or nails should I use to attach trim to cabinets?
For attaching trim to cabinets, it’s recommended to use a strong construction adhesive or finishing nails for a secure hold.
Do I need to sand the cabinet surface before attaching trim?
Yes, sanding the cabinet surface before attaching trim ensures better adhesion and a smoother finish.
Can I paint over the trim once it’s attached to the cabinets?
Yes, once the trim is securely attached, you can paint over it to match the cabinets or achieve a desired aesthetic.
How do I ensure the trim aligns evenly on the cabinet doors?
Before attaching the trim, measure and mark the desired placement carefully, ensuring proper alignment for a professional look.
Should I seal the trim after attaching it to bathroom cabinets?
It’s advisable to seal the trim, especially for bathroom cabinets, to protect against moisture and ensure longevity.
Conclusion
Adding trim to cabinets offers a cost-effective and transformative solution to upgrade their appearance. By carefully selecting the right trim and following precise installation techniques, you can achieve a customized and stylish look that enhances the overall aesthetic of your space.
Whether you’re aiming for a modern, traditional, or eclectic vibe, the versatility of trim allows for endless creative possibilities. Additionally, proper preparation, including cleaning and sanding the cabinet surface, ensures optimal adhesion and a seamless finish.
Remember to consider the specific requirements of bathroom cabinets, such as moisture resistance and sealing, to ensure durability. Ultimately, with attention to detail and the right approach, adding trim to cabinets can elevate the look of your home while staying within budget.