
Revamping your kitchen or bathroom cabinets with new doors breathes new life into the space. This comprehensive guide walks you through measuring, selecting, and installing DIY cabinet doors seamlessly.
Explore essential tools, step-by-step instructions, pro tips for flawless alignment, common challenges with solutions, cost-saving strategies, and maintenance advice. Embark on this rewarding DIY project with confidence, transforming your cabinets into a stunning focal point while saving money.
Follow along and master the art of adding cabinet doors like a pro.
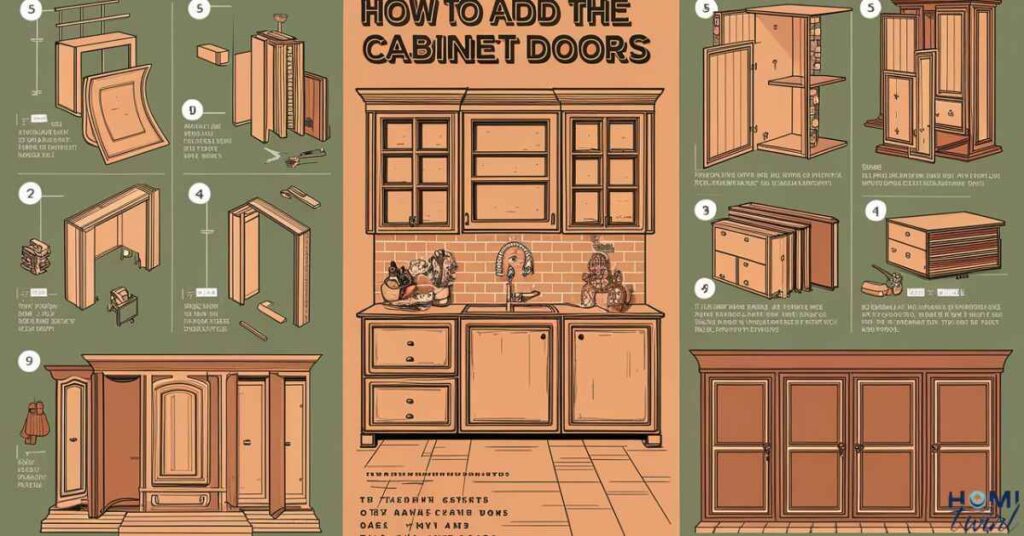
How to Add Cabinet Doors: Step-by-Step Instructions for Seamless Installation
Upgrading your cabinets with new doors can instantly elevate the look and functionality of your kitchen or bathroom. While it may seem daunting, adding cabinet doors is a manageable DIY project with the right guidance and tools. This blog post will walk you through the process, from measuring and selecting the perfect doors to the final installation.
Preparation is Key: Measuring and Choosing Cabinet Doors
Precise measurements are crucial for achieving a seamless fit when adding cabinet doors. Before ordering or purchasing new doors, carefully measure the cabinet openings, including the width, height, and depth. Even the slightest discrepancy can lead to ill-fitting doors, so take your time and double-check your measurements.
When selecting cabinet doors, consider factors such as material, style, and hinges. Wood doors offer a classic and warm aesthetic, while materials like laminate or thermofoil provide a more contemporary and durable option. Think about the overall design of your kitchen or bathroom and choose a door style that complements the existing decor.
Read This Blog: HOW MUCH SPACE BETWEEN COUNTER AND UPPER CABINETS
Hinges play a vital role in the functionality and appearance of your cabinet doors. Concealed hinges create a sleek, minimalist look, while overlay hinges offer a more traditional appearance. Inset hinges are suitable for doors that sit flush with the cabinet frame. Consider the weight of the doors and the desired opening angle when choosing the appropriate hinges.
Ordering or purchasing the correct doors and hardware is essential. Ensure you have the necessary quantities, accounting for any potential replacements or extras. Don’t hesitate to consult with professionals or seek advice from experienced DIYers to make an informed decision.
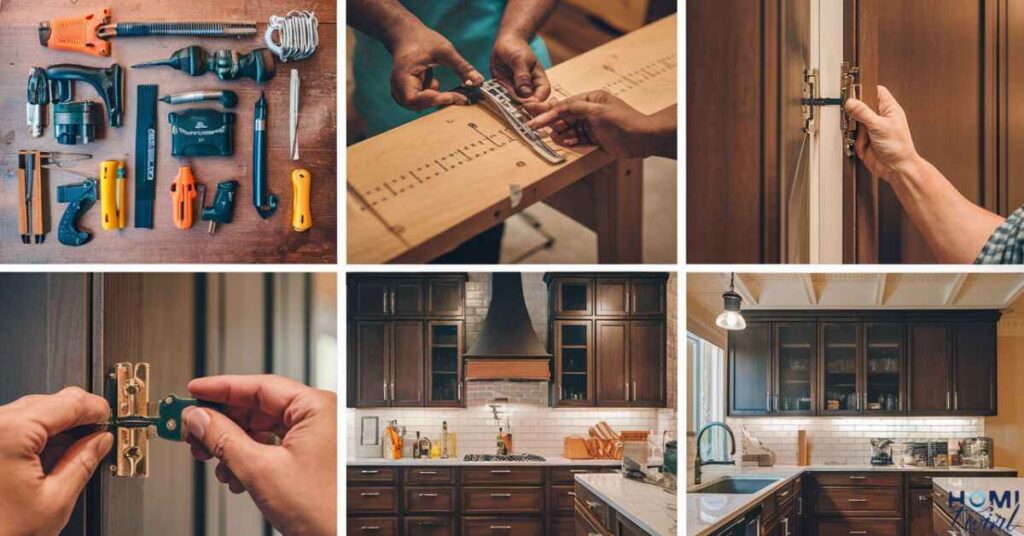
Tools and Materials Needed for Adding Cabinet Doors
Before embarking on your cabinet door installation project, gather the following essential tools and materials.
· Drill and drill bits (for pilot holes)
· Screwdrivers (flathead and Phillips)
· Clamps (to secure doors during installation)
· Measuring tape and pencils
· Level
· Wood glue (if necessary)
· Putty or wood filler (for filling holes or gaps)
· Sandpaper (for smoothing surfaces)
· Hinges (concealed, overlay, or inset, depending on your choice)
· Cabinet door handles or knobs
Having the right tools and materials at hand will streamline the installation process and ensure a professional-looking result.
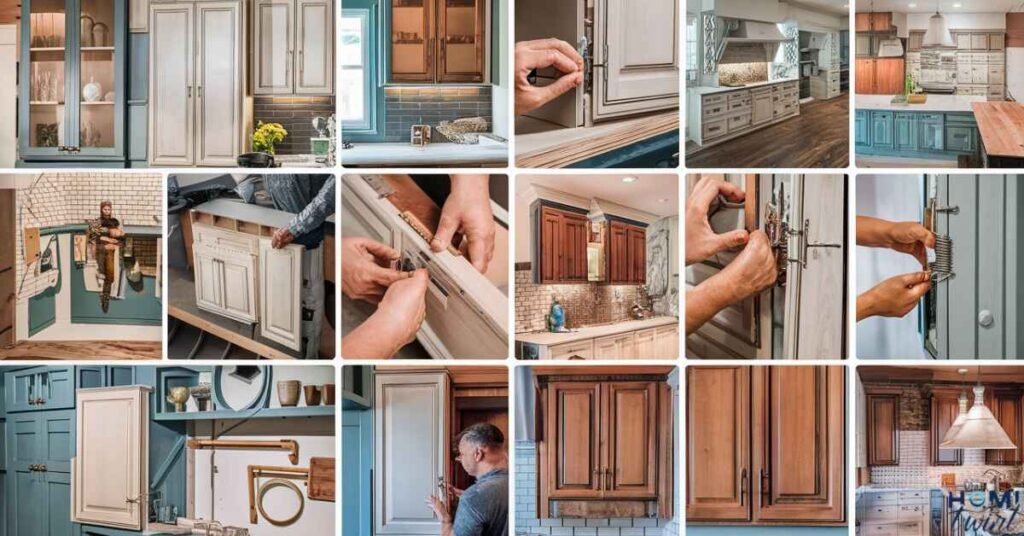
Step-by-Step Guide to Installing Cabinet Doors
Follow these step-by-step instructions to install your new cabinet doors.
Step 1: Prepare the Cabinet Openings Start by thoroughly cleaning the cabinet openings, removing any debris or residue. Sand any rough or uneven surfaces to ensure a smooth fit for the new doors. If necessary, apply a primer or sealer to the cabinet frames to prepare for the installation.
Also Read This Blog: WHY ARE CABINETS SO EXPENSIVE
Step 2: Mark Hinge Locations and Drill Pilot Holes Using the manufacturer’s instructions or a hinge template, carefully mark the locations for the hinges on the cabinet frame. Drill pilot holes at these marked spots to prevent the wood from splitting when screwing in the hinges.
Step 3: Attach Hinges to the Cabinet Frame Secure the hinges to the cabinet frame using the provided screws. Ensure the hinges are level and properly aligned for a smooth door operation.
Step 4: Hang the Cabinet Doors and Adjust for Proper Alignment With the hinges attached to the frame, hang the cabinet doors onto the hinges. Adjust the door positions as needed, using shims or adjusting the hinge screws to achieve a perfect fit and alignment.
Step 5: Install Knobs, Handles, or Other Hardware Once the doors are properly hung and aligned, install the knobs, handles, or any other desired hardware. Follow the manufacturer’s instructions for proper placement and secure installation.
Visuals and Diagrams: To further clarify the installation process, consider including visuals, such as images, diagrams, or video tutorials, to illustrate key steps like marking hinge locations or adjusting door alignment.
Pro Tips for Flawless Cabinet Door Installation
Even with careful planning and execution, you may encounter challenges during the installation process. Here are some pro tips to help you overcome common obstacles.
Dealing with Out-of-Square Openings or Uneven Surfaces: If your cabinet openings are slightly out of square or the surfaces are uneven, you may need to make adjustments to achieve a proper fit. Consider using shims or adding spacers to level the doors and ensure they open and close smoothly.
Adjusting Hinges for a Perfect Fit and Smooth Operation: Most hinges offer some degree of adjustment, allowing you to fine-tune the door’s fit and operation. Consult the manufacturer’s instructions or seek guidance from experienced DIYers to learn how to adjust the hinges correctly.
Hiding Imperfections or Gaps: Small gaps or imperfections around the cabinet doors can be concealed using caulking or trim pieces. Choose a color that matches the door or frame, and apply it neatly for a seamless finish.
Special Considerations for Different Door Styles or Materials: Certain door styles or materials may require additional steps or precautions during installation. For example, glass panel doors may need extra support or reinforcement, while solid wood doors may benefit from a coat of finish or sealant after installation.
Maintenance and Care for Long-Lasting Cabinet Doors
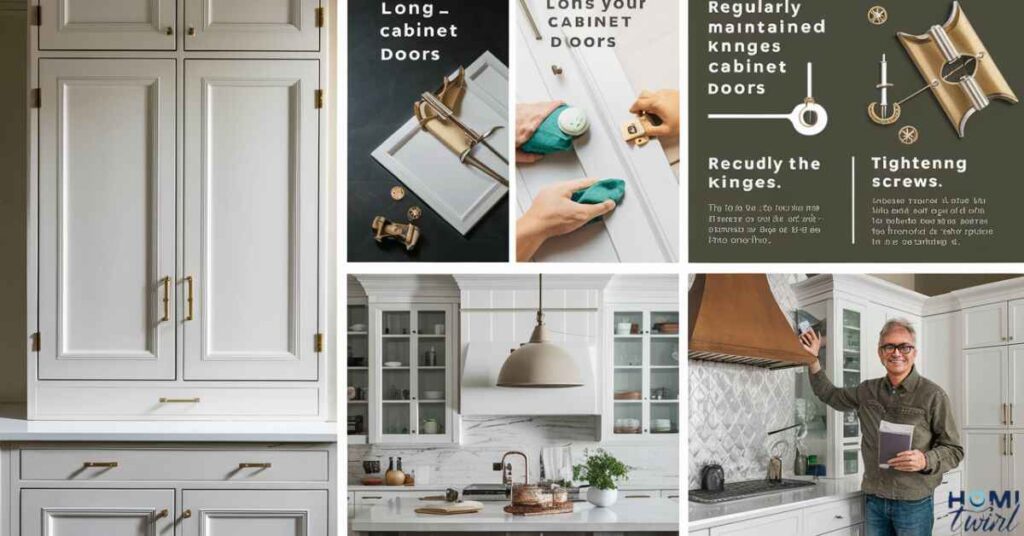
To ensure your newly installed cabinet doors remain in pristine condition for years to come, follow this maintenance and care tips.
Cleaning and Maintaining Cabinet Doors: Regular cleaning is essential to keep your cabinet doors looking their best. Use a mild detergent and soft cloth to wipe down the doors, avoiding harsh chemicals or abrasive cleaners that can damage the surface.
Lubricating Hinges for Smooth Operation: Over time, hinges can become stiff or squeaky. Periodically lubricate the hinges with a small amount of lubricant designed specifically for cabinet hardware. This simple step will ensure smooth door operation and extend the life of the hinges.
Protecting the Doors from Damage or Wear: Take precautions to protect your cabinet doors from excessive wear and tear. Use cabinet door bumpers or soft-close hinges to prevent slamming, and be mindful of placing heavy or sharp objects on the doors.
By following these maintenance and care guidelines, your newly installed cabinet doors will retain their beauty and functionality for years to come.
Key Takeaways:
· Precise measurements and proper door/hardware selection are crucial
· Gather the necessary tools and materials before starting
· Follow step-by-step instructions for installation
· Utilize pro tips to overcome challenges and achieve a flawless finish
· Maintain and care for your cabinet doors for long-lasting beauty and functionality
Here are some additional tips and details to further expand the blog post.
Tips for Installing DIY Cabinet Doors
1. Remove Old Doors Carefully
Before installing new cabinet doors, you’ll need to remove the existing ones. Take care not to damage the cabinet frames or hinges during this process. If you plan to reuse the hinges, remove them carefully and label them to ensure proper reinstallation.
2. Measure Properly for Replacements
Measure Openings
Precise measurements are critical when ordering replacement cabinet doors. Measure the width, height, and depth of each cabinet opening, taking multiple measurements to ensure accuracy. It’s better to have slightly smaller doors that can be adjusted than doors that are too large and won’t fit properly.
Determine Overlay
Overlay refers to how much the cabinet door overlaps the frame. Common overlays are full overlay (door covers the entire frame), partial overlay (small portion of frame visible), and inset (door sits flush with frame). Measure the existing overlay to ensure your new doors match the desired look.
3. Select the Right Style and Material for Your Kitchen
Raised Panel, Flat Panel, or Slab?
Cabinet door styles range from traditional raised panel designs to sleek, modern flat or slab doors. Consider the overall aesthetic of your kitchen and choose a style that complements the existing cabinetry, countertops, and appliances.
Wood or Manufactured Finish?
Solid wood doors offer a classic, warm look but require more maintenance. Engineered wood, thermofoil, or laminate doors are durable and easy to clean, making them a popular choice for busy kitchens. Weigh the pros and cons of each material based on your lifestyle and preferences.
4. Order Hardware With Your DIY Cabinet Doors
Flush Hinges
For inset cabinet doors, flush hinges are a popular choice as they allow the door to sit flush with the frame. These hinges are mounted on the inside of the cabinet, creating a clean, seamless look.
Concealed Hinges
Concealed or European-style hinges are widely used for their sleek, minimalist appearance. These hinges are mounted on the inside of the cabinet and door, hiding the hardware for a modern, streamlined look.
Count Your Hinges
Most cabinet doors require two hinges, but larger or heavier doors may need three or more for proper support. Follow the manufacturer’s recommendations and order enough hinges for all your cabinet doors.
5. Take Your Time With the Installation
Work Area
Clear a large workspace for laying out the cabinet doors and hardware. Having ample room will make the installation process more manageable and prevent damage to the doors or surrounding areas.
Prepared Meals
If you’re tackling a kitchen cabinet project, consider preparing some meals in advance or plan for simple, no-cook options. This will minimize disruptions and ensure you have the time and focus needed for the installation.
Methodical Process
Installing cabinet doors can be time-consuming, so approach the process methodically. Work on one section or cabinet at a time, ensuring proper alignment and functionality before moving on to the next.
By following these tips, you’ll be well-prepared to install your DIY cabinet doors with confidence, achieving a professional-looking result that enhances the beauty and functionality of your kitchen or bathroom.
Here are some additional sections to further enrich the blog post.
Expert Advice for Perfect Cabinet Door Alignment
Achieving a flawless alignment is key to ensuring your cabinet doors open and close smoothly. Here are some expert tips to help you get it right.
1. Use a Level: Before hanging the doors, use a level to ensure the cabinet frames are perfectly level and square. Adjust the frames if necessary.
2. Start with the Top Hinge: When installing the hinges, start with the top hinge first. This will help you align the door properly before securing the bottom hinge.
3. Adjust Hinge Positions: Most hinges allow for vertical, horizontal, and depth adjustments. Utilize these adjustments to fine-tune the door’s position until it’s perfectly aligned with the cabinet frame.
4. Check for Proper Clearance: Ensure there’s enough clearance between the door and the frame, as well as between adjacent doors. Adjust as needed to prevent rubbing or interference.
5. Use Shims for Minor Adjustments: If you’re dealing with slightly out-of-square openings, use thin shims to help level and align the doors. Wooden or plastic shims work well for this purpose.
By following these expert tips, you’ll be able to achieve a seamless, professional-looking installation that will stand the test of time.
Common Challenges and Solutions
Even the most well-planned cabinet door installation project can encounter challenges. Here are some common issues you may face and solutions to overcome them.
1. Out-of-Square Openings: If your cabinet openings are significantly out of square, you may need to use spacers or trim pieces to create a consistent gap around the door. This will ensure a proper fit and smooth operation.
2. Uneven Surfaces: Sanding or planing may be necessary if the cabinet frame surfaces are uneven. This will provide a flat, smooth surface for the hinges and doors to mount properly.
3. Sagging Doors: Over time, cabinet doors can sag, causing them to rub against the frame or misalign. Adding an extra hinge or using stronger hinges can help support the weight and prevent sagging.
4. Sticky or Rubbing Doors: If your doors are sticking or rubbing against the frame, check for obstructions or misalignments. Adjusting the hinges or sanding the edges of the doors can often resolve this issue.
5. Hardware Compatibility: Ensure the new hinges and hardware you’ve chosen are compatible with your cabinet doors and frames. Consulting with a professional or referring to manufacturer guidelines can help avoid compatibility issues.
By being aware of these common challenges and having solutions on hand, you’ll be better equipped to tackle any obstacles that may arise during your DIY cabinet door installation project.
Cost-Saving Tips for DIY Cabinet Door Projects
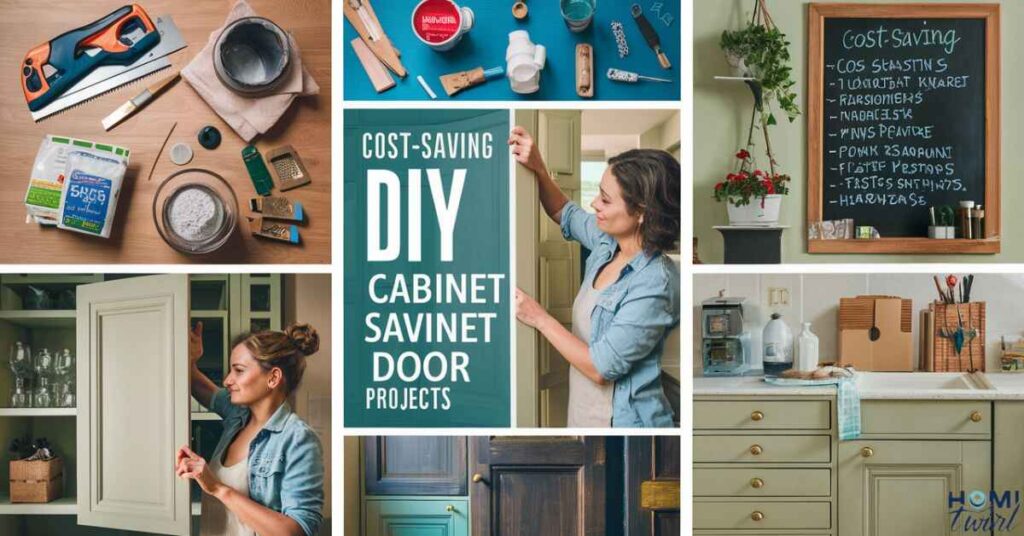
Replacing cabinet doors can be a cost-effective way to update your kitchen or bathroom without undertaking a full renovation. Here are some tips to help you save money on your DIY cabinet door project:
1. Refinish Existing Doors: If your current cabinet doors are in good condition, consider refinishing them instead of replacing them. Sanding, painting, or staining can give them a fresh, updated look at a fraction of the cost.
2. Shop for Discounted Doors: Keep an eye out for sales or clearance events at home improvement stores or online retailers. You can often find deeply discounted cabinet doors, especially if you’re flexible with styles or finishes.
3. Buy Cabinet Door Kits: Many retailers offer cabinet door kits that include pre-made doors and the necessary hardware. These kits can be more cost-effective than purchasing doors and hardware separately.
4. Consider Ready-to-Assemble (RTA) Options: RTA cabinet doors are flat-packed and require assembly. While they may take more time to put together, they can be significantly cheaper than pre-assembled options.
5. Reuse Existing Hardware: If your current hinges and hardware are in good condition, you can save money by reusing them with your new cabinet doors.
By implementing these cost-saving strategies, you can achieve a stunning cabinet door makeover without breaking the bank.
Maintenance and Care Tips for Long-Lasting Cabinet Doors
Proper maintenance and care are essential to ensure your newly installed cabinet doors retain their beauty and functionality for years to come. Here are some tips to keep in mind:
1. Regular Cleaning: Wipe down your cabinet doors regularly with a mild detergent and soft cloth. Avoid harsh chemicals or abrasive cleaners that can damage the finish.
2. Lubricate Hinges: Periodically lubricate the hinges with a small amount of silicone-based lubricant. This will ensure smooth operation and prevent squeaking or sticking.
3. Protect from Moisture and Heat: Keep cabinet doors away from direct sources of moisture and heat, as these can cause warping or damage over time.
4. Use Cabinet Door Bumpers: Install rubber or felt bumpers on the inside of the cabinet frames to prevent the doors from slamming against the frame and causing dents or scratches.
5. Tighten Hardware Regularly: Check the screws and hinges periodically and tighten them if necessary. Loose hardware can lead to misalignment or damage.
By following these simple maintenance and care tips, you’ll be able to enjoy your beautifully installed cabinet doors for many years to come.
Remember, the key to a successful DIY cabinet door installation is patience, attention to detail, and a willingness to troubleshoot any challenges that may arise. With the right tools, materials, and guidance, you can achieve professional-looking results and transform the look and functionality of your kitchen or bathroom.
Frequently Asked Question
How do I ensure my new cabinet doors fit properly?
Measure the cabinet openings meticulously and double-check your measurements before ordering.Account for the overlay style (full, partial, or inset) to achieve the desired look.
What type of hinges should I use for my cabinet doors?
Concealed or European-style hinges create a sleek, modern look, while overlay hinges offer a more traditional appearance.Consider the door weight and desired opening angle when selecting hinges.
Can I reuse my existing cabinet door hinges and hardware?
Yes, you can reuse hinges and hardware if they are in good condition and compatible with the new doors.Ensure the hinges can support the weight of the new doors and provide proper clearance.
How can I ensure my cabinet doors align properly?
Start with a level cabinet frame, and use a level when installing the top hinge first.Adjust the hinge positions and use shims if needed for perfect alignment.
What should I do if my cabinet doors are sagging or rubbing against the frame?
Add an extra hinge or use stronger hinges to support the door’s weight and prevent sagging.Sand or adjust the door edges if rubbing occurs due to misalignment.
How can I maintain my newly installed cabinet doors?
Clean regularly with a mild detergent and soft cloth, lubricate hinges periodically.Use door bumpers, tighten hardware, and protect from moisture and heat.
Conclusion
Transforming your kitchen or bathroom with new cabinet doors is an achievable and rewarding DIY project. By following the comprehensive steps outlined in this guide, from precise measurements and selecting the right materials to expert installation techniques and troubleshooting tips, you can confidently tackle this task. Embrace the challenges along the way, and don’t hesitate to seek advice from professionals or experienced DIYers when needed.
Your newly installed cabinet doors will not only enhance the aesthetic appeal of your space but also add value and functionality to your home. Proper maintenance and care will ensure your doors remain beautiful and operate smoothly for years to come. Celebrate your handiwork and the sense of accomplishment that comes with a successful DIY project. Now, step back and admire the stunning transformation you’ve created with your own hands.